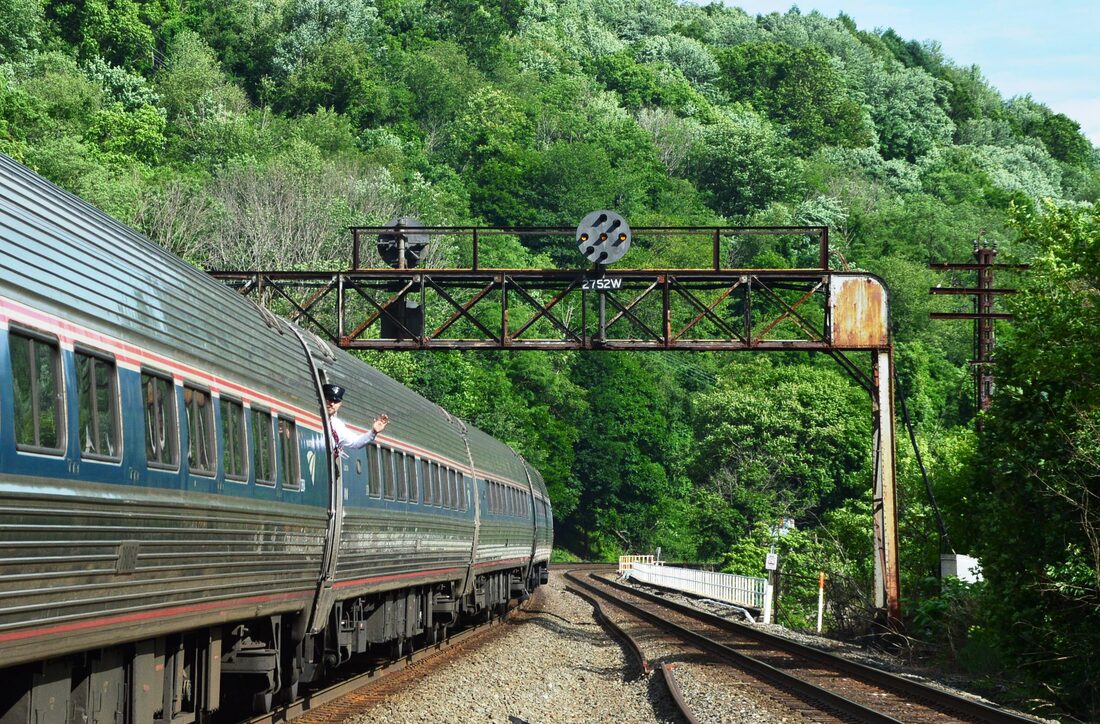
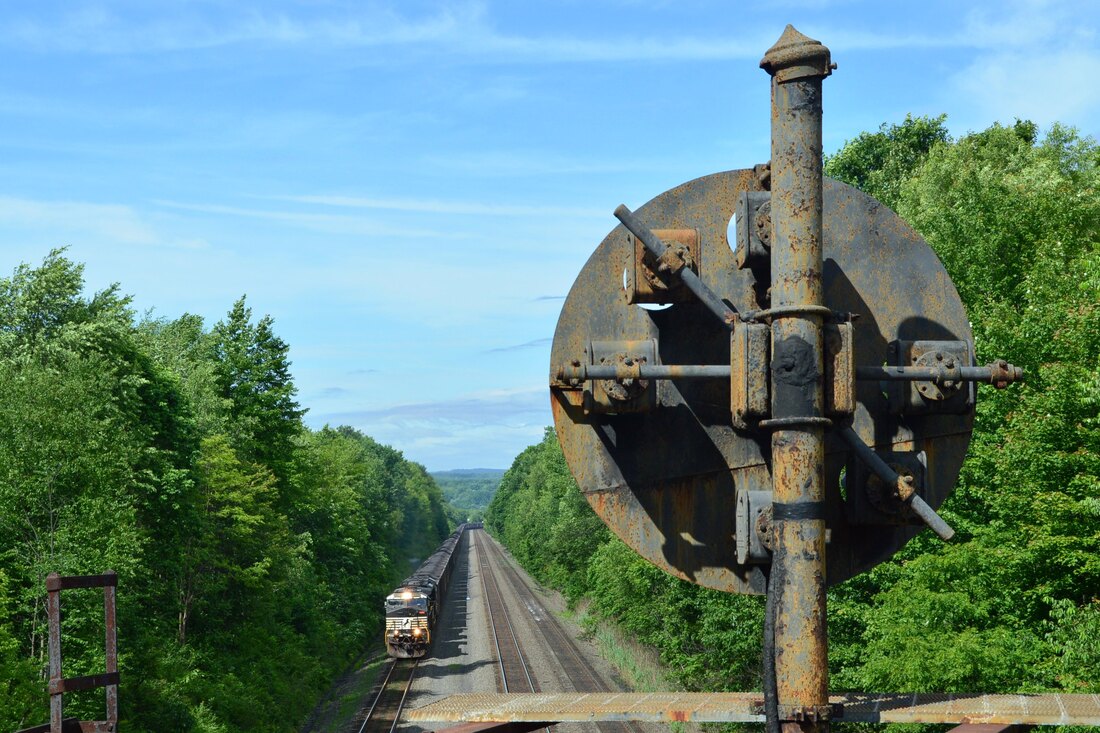
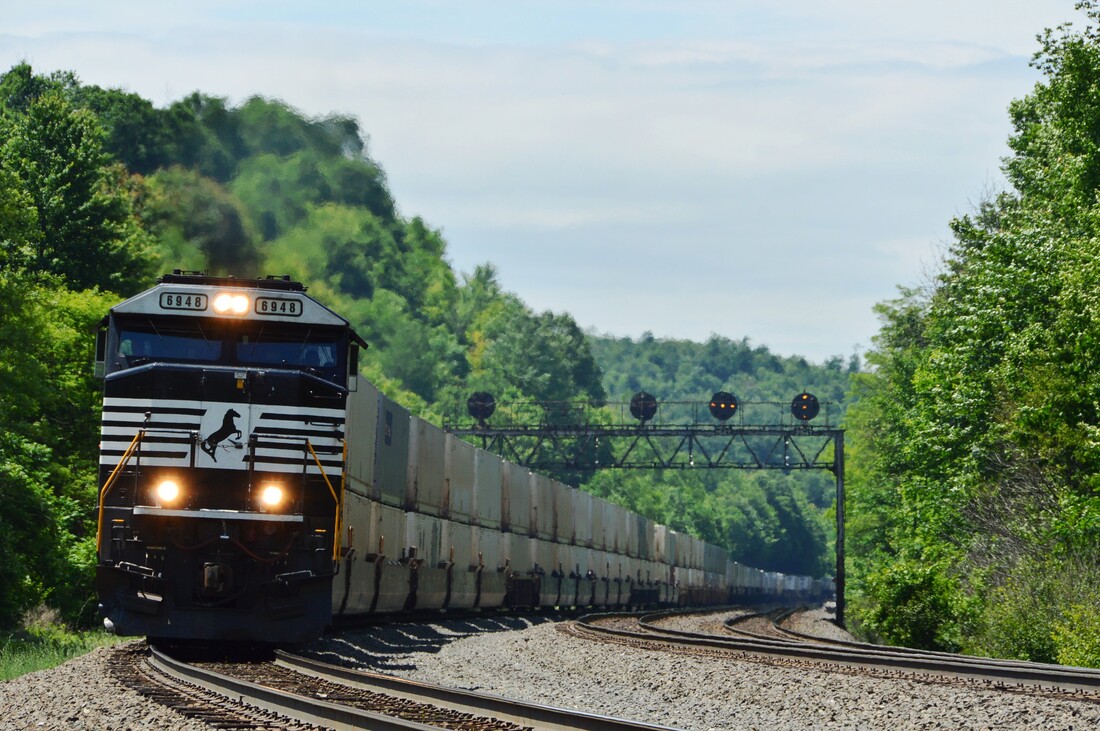
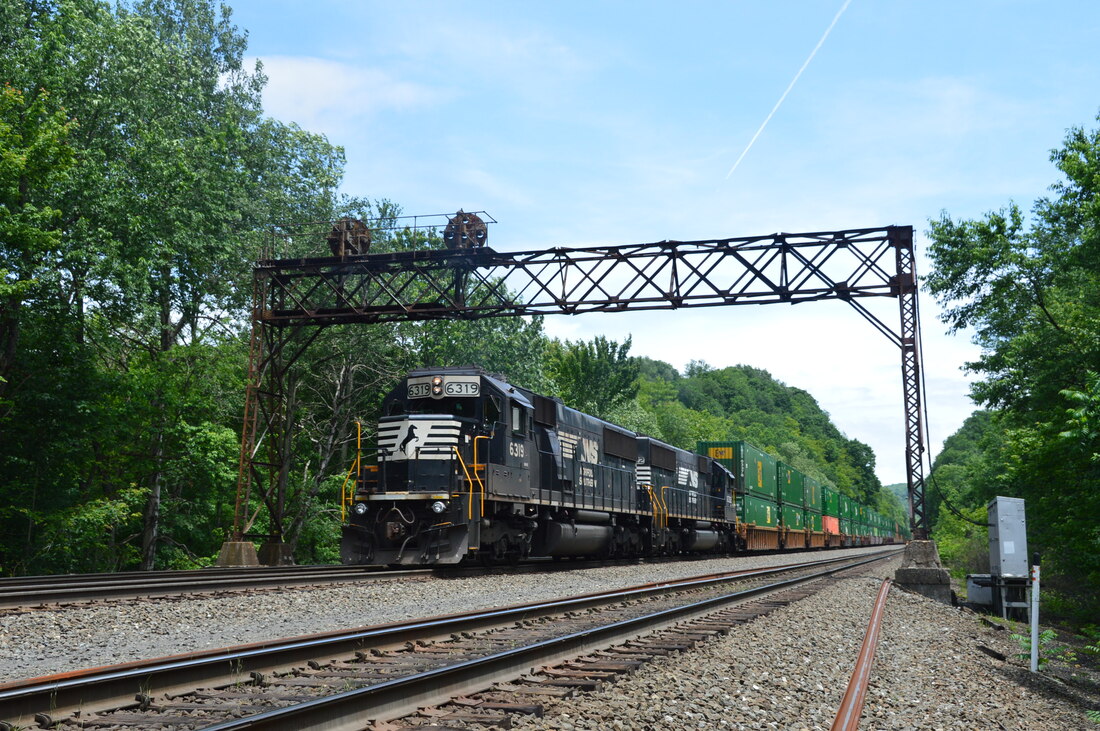
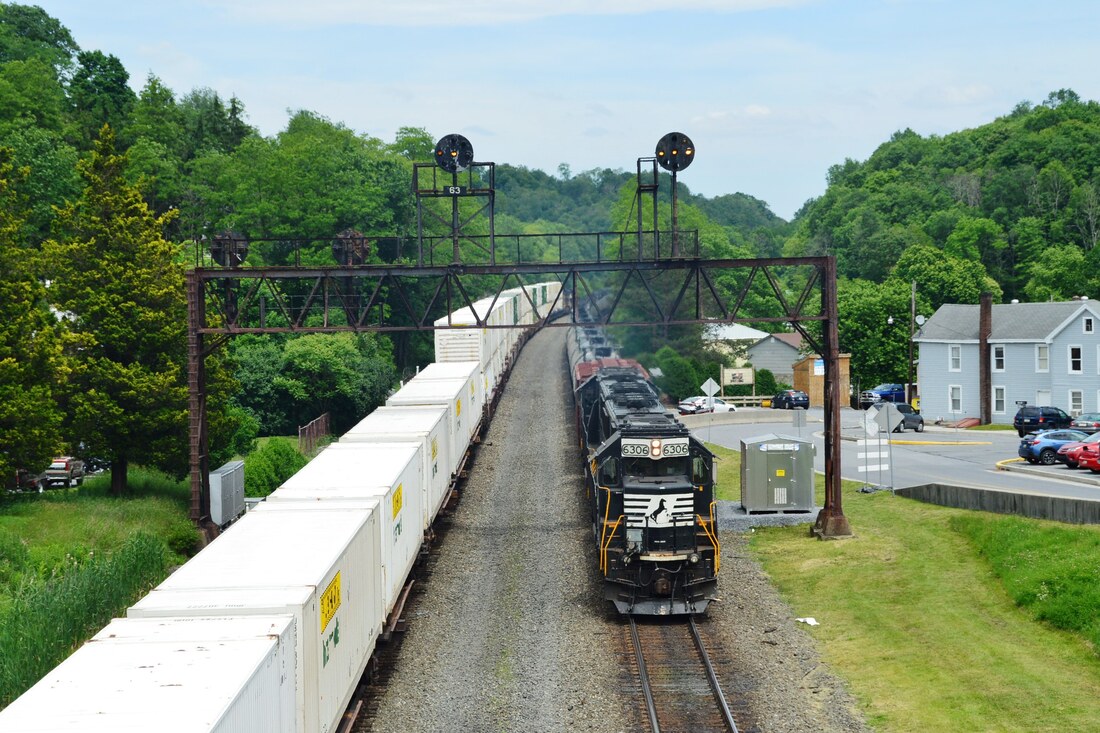
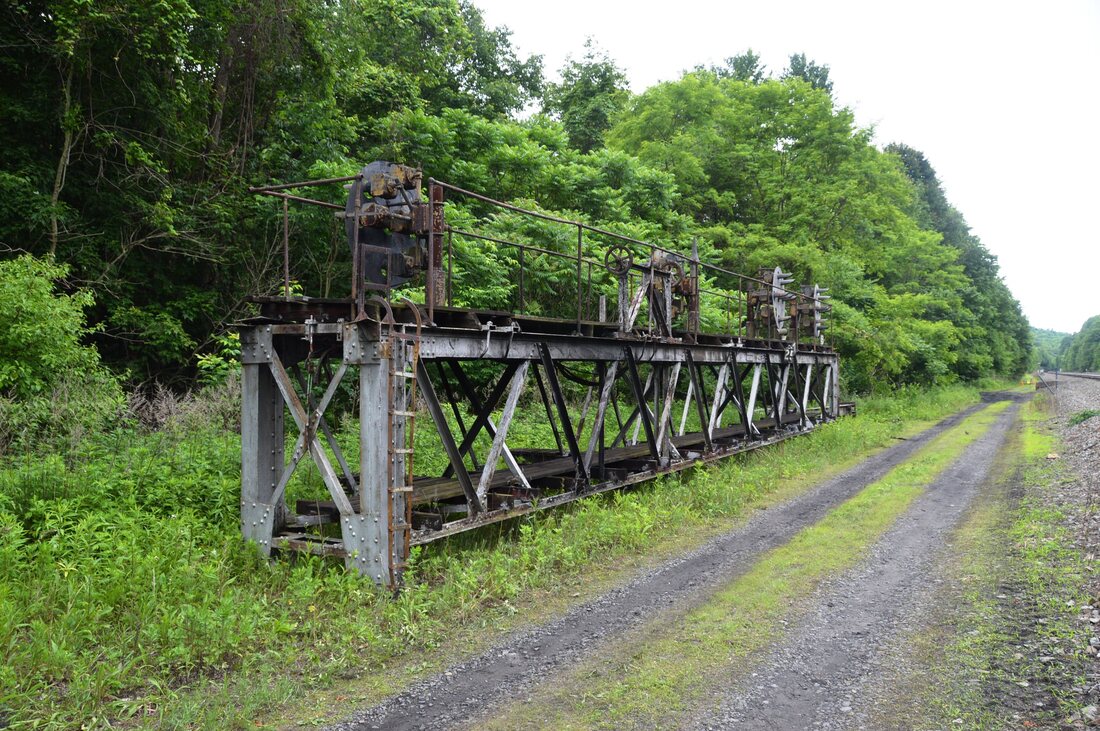
It has been over two years since my last update and honestly it took me a bit to remember how to do it. I guess other things have taken priority, but I'd like to get back in it. There is no good way to chronologically cover the last few years, so I've just decided to jump in where it seems most pressing, starting with a summary of a day spent "train spotting" (what we would call rail fanning) in September.
I had made the acquaintance of Steve McEwen, known as The British Railroader on YouTube, via social media, but never imagined we would someday meet. In September 2022 I messaged Steve asking if he could recommend a hobby shop in or around London to visit during our upcoming trip to London. He kindly recommended Jane's Trains in Tooting, an area south of London. After keeping in touch all year, I asked this question again prior to this year's London visit. Steve did one better - he took a day off work so we could meet in person and go train spotting. We visited Clapham Junction and Willesden Junction, both extremely busy junction points of multiple railroads. We enjoyed lunch at a pub in Clapham and formed a fast friendship.
Here are some photos of the day.
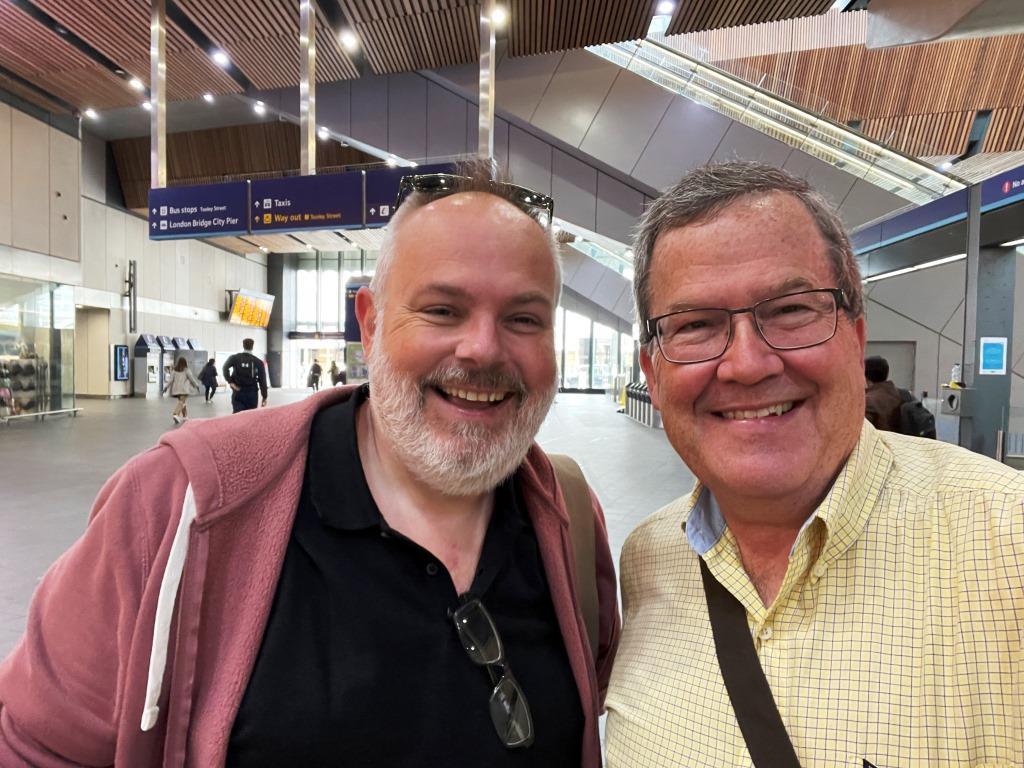 Steve and I met up at London Bridge Station in London. This being our first in-person meeting, we were glad that neither of us were ax murderers! | 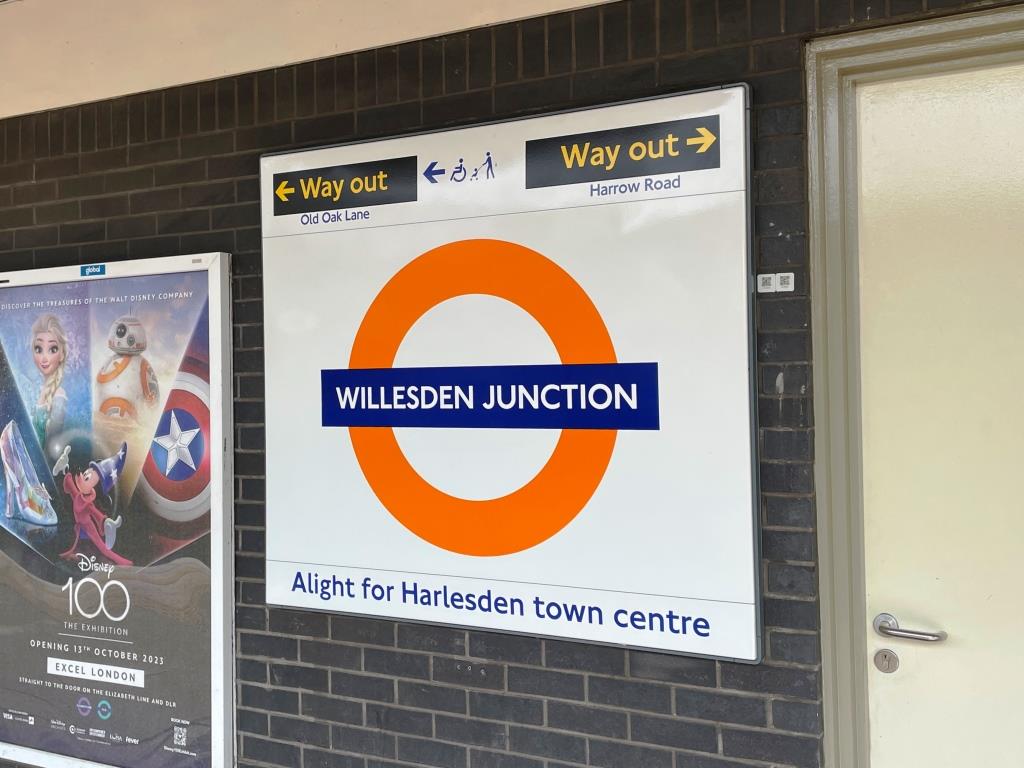 Willesden Junction was our first stop of the day. It is served by the London Overground as can be determined by the orange and blue roundel. |
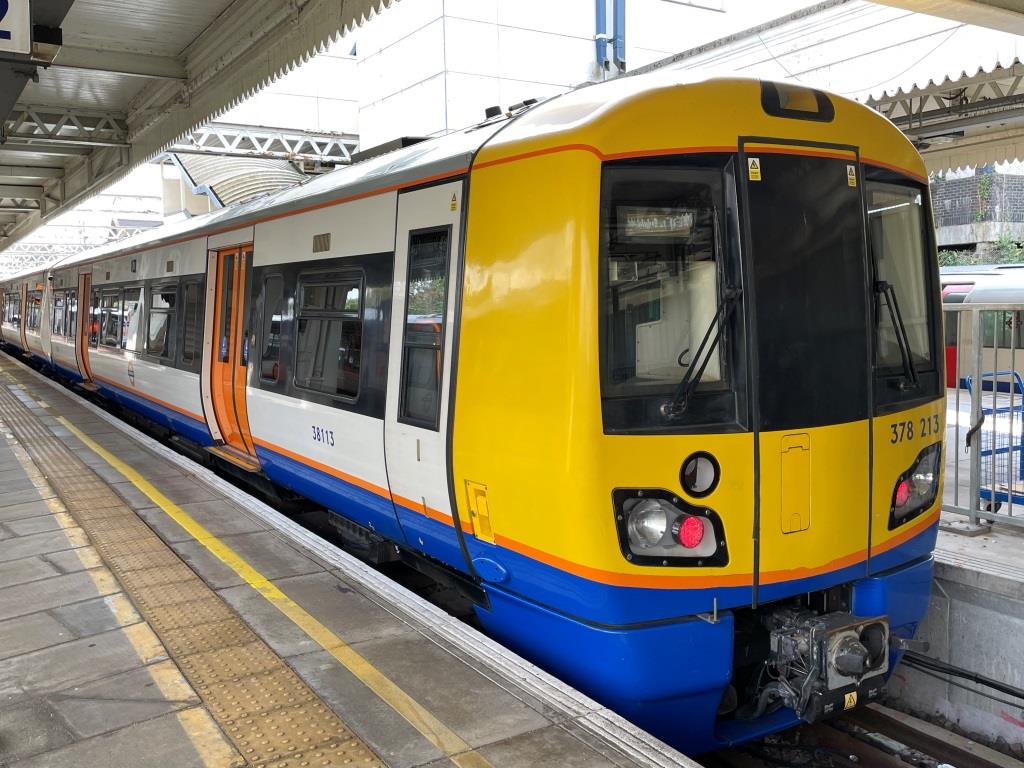
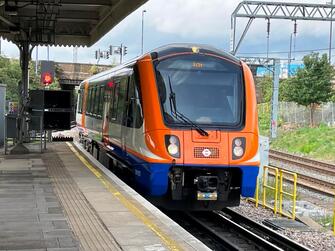 A London Overground train in a striking livery (paint scheme). These might be my new favorite British trains since the HST 125s are all now retired. | 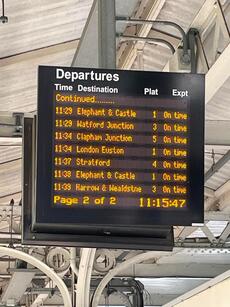 Seven departures in ten minutes at Willesden Junction! It’s like this all day long. |
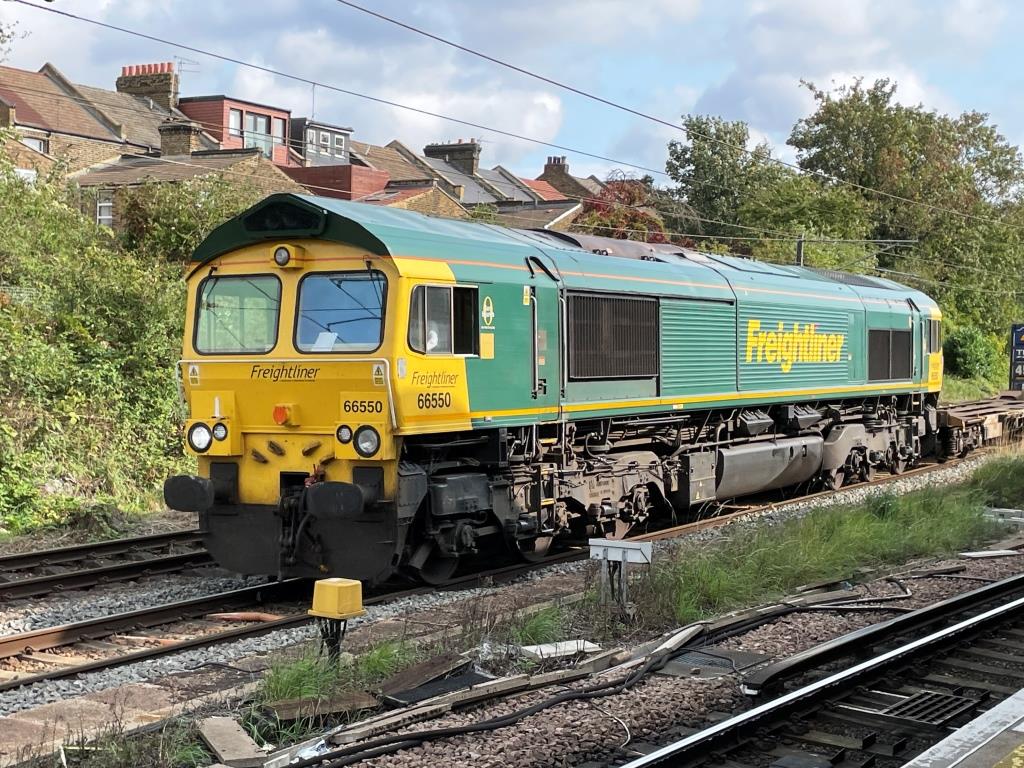 These Class 66 Freightliners are the standard over-the-road freight locomotives in Great Britain. The first two digits of the locomotive number are the “class,” 66 in this case. Steve told me that these are actually made in the USA by EMD (Electro-Motive Division) and exported to Great Britain. The driver of this train was female and gave us a hearty wave. | 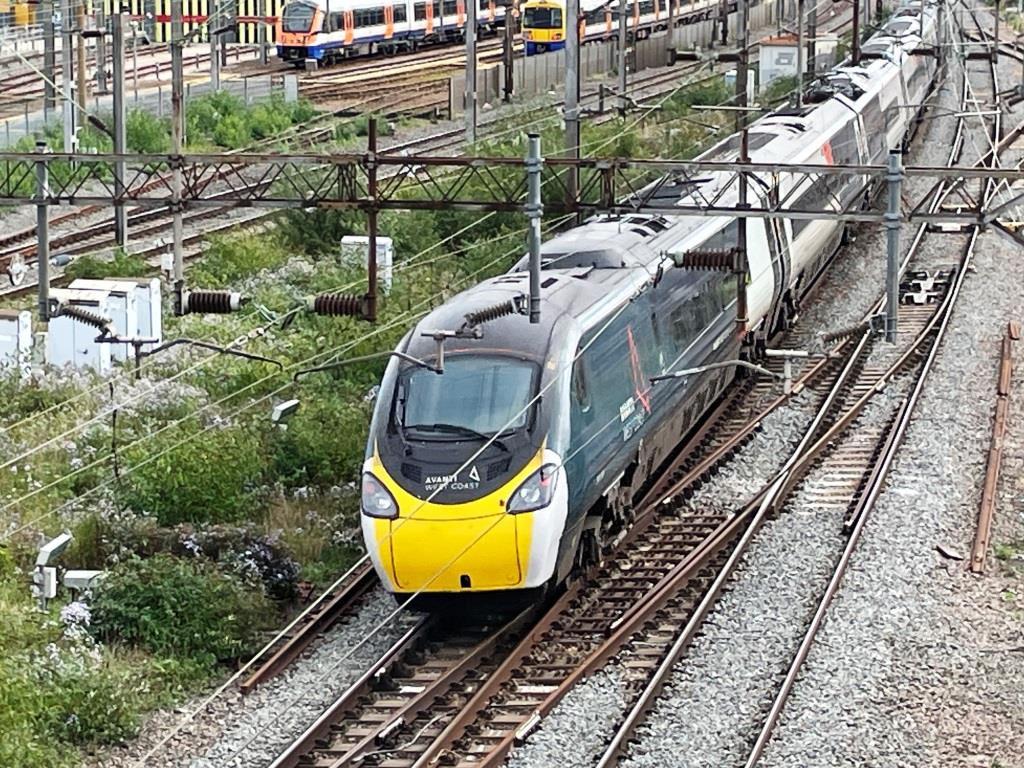 In sharp contrast to the slow-moving freight train, an Avanti West Coast high speed passenger train soon zipped by headed west out of London. |
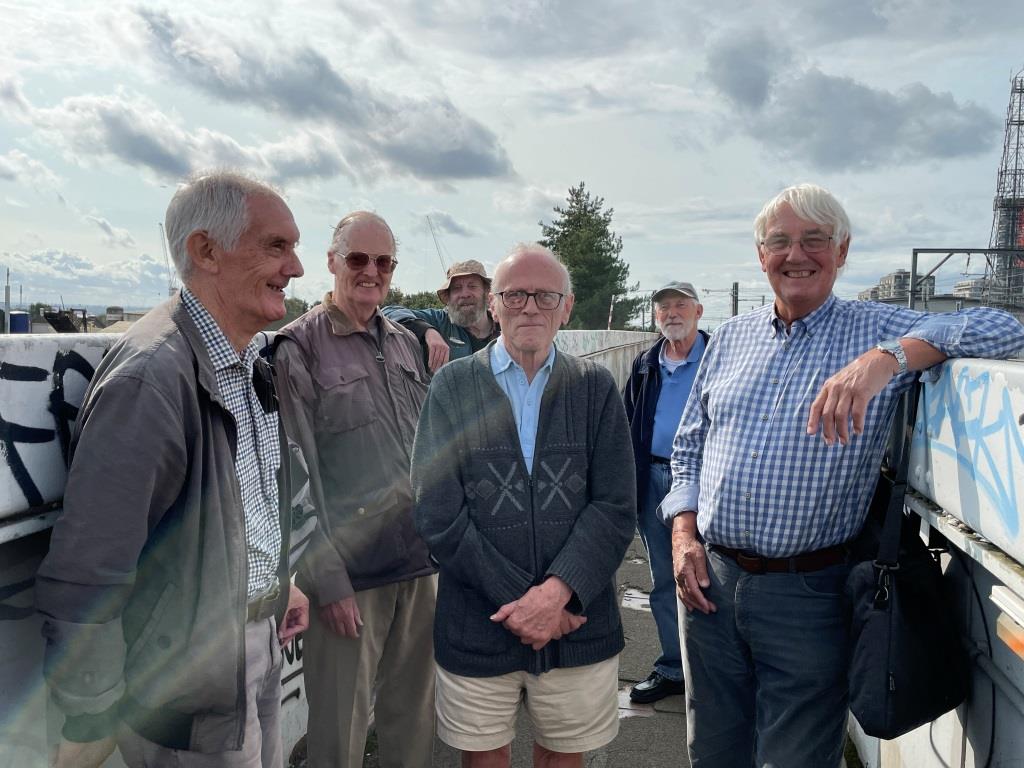 Six other rail enthusiasts we met on the pedestrian bridge at Willesden Junction. They were most excited about a pending diesel-powered ballast train, while I was awestruck with all the passenger trains - I guess we always crave the unusual. With electrification of the railways, diesel trains are becoming less common, so those get a lot of interest from railfans. | 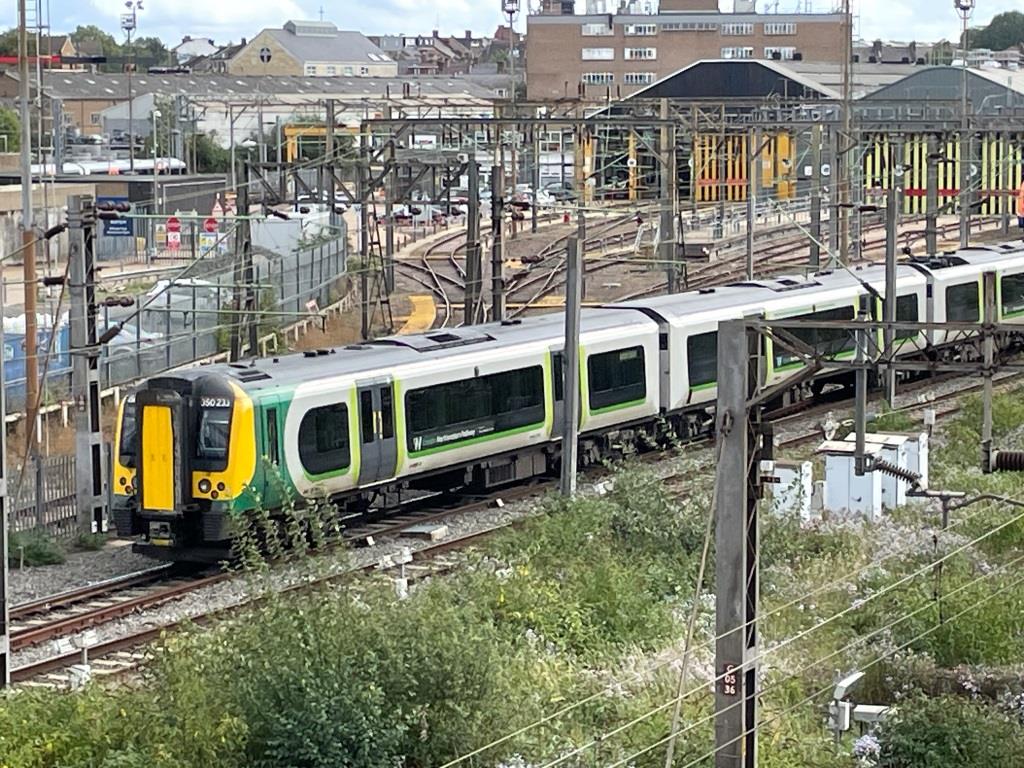 An attractive green, yellow and gray London Midland EMU (Electric Multiple Unit) commuter train was up next. These trains are typically run in sets of 8 or 10 cars. |
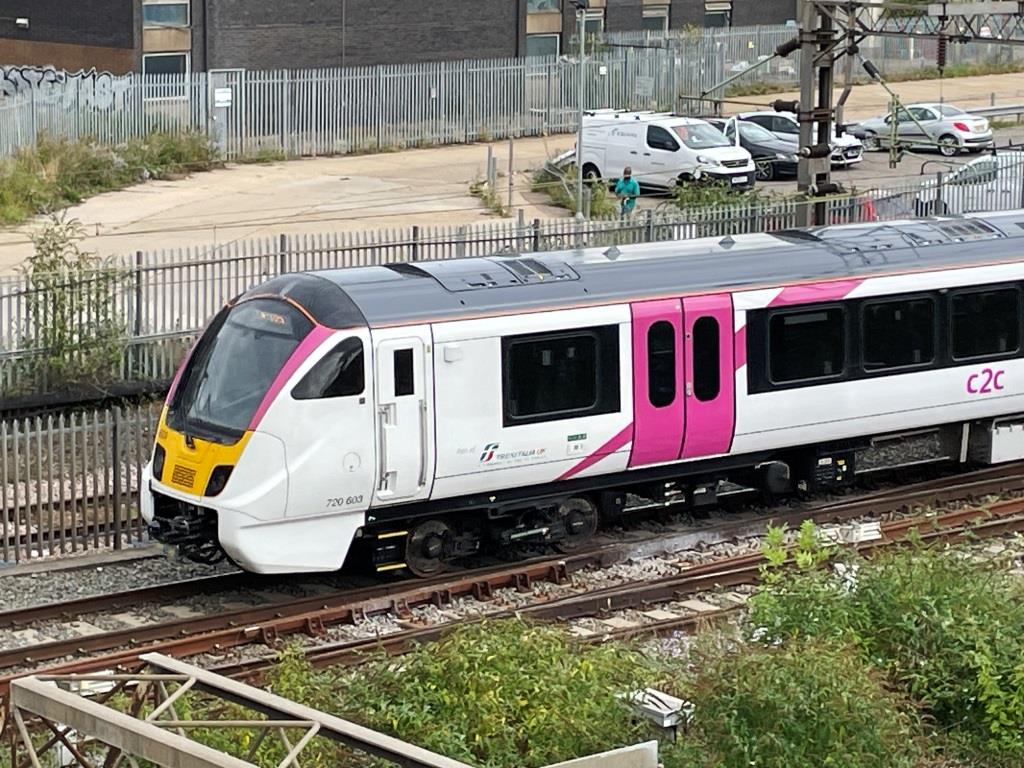 These brand new C2C (Coast to Coast) trains were undergoing familiarization and testing. | 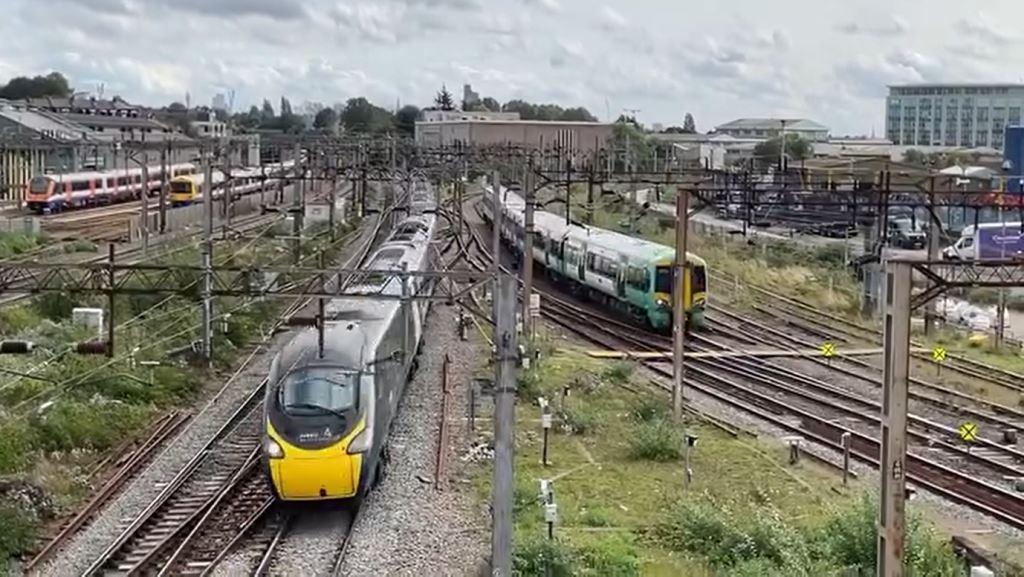 An Avanti West Coast passenger train screams past an EMU commuter train. It was like this the entire time - a train every two minutes. The London Overground maintenance facility is visible to the far left. |
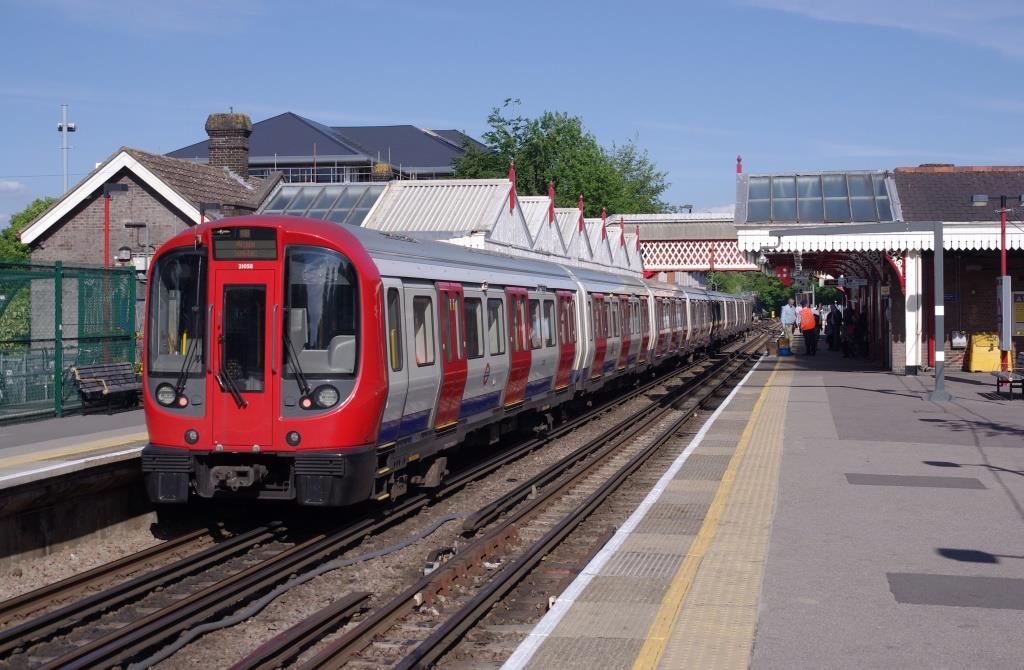
 We next traveled to Clapham Junction where commuter trains like this were prevalent. | 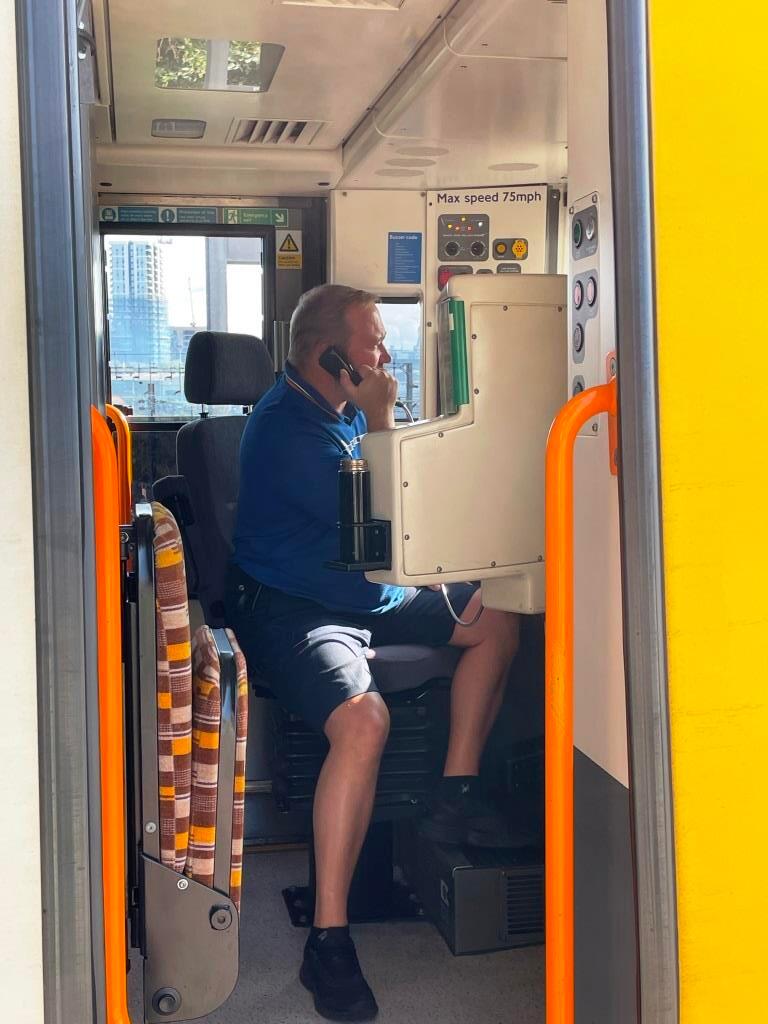 The train engineers in Britain are called "drivers." |
 Three moving trains of the South Western Railway in one photo! | 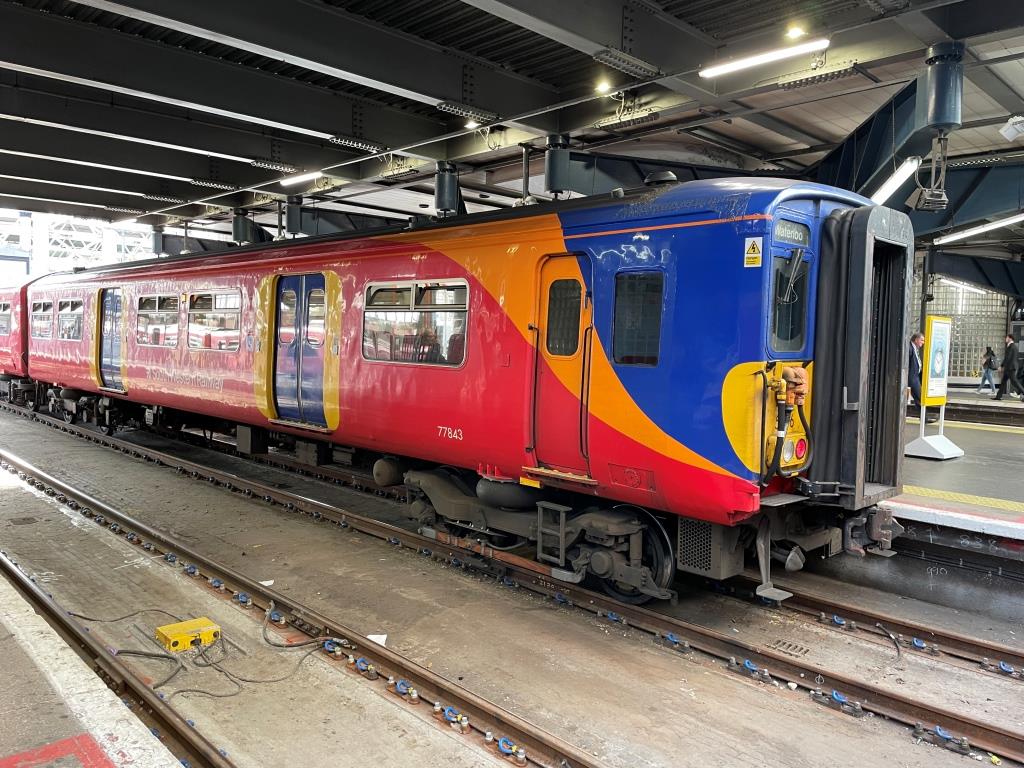 I think these trains look a lot like Southwest Airlines' planes. |
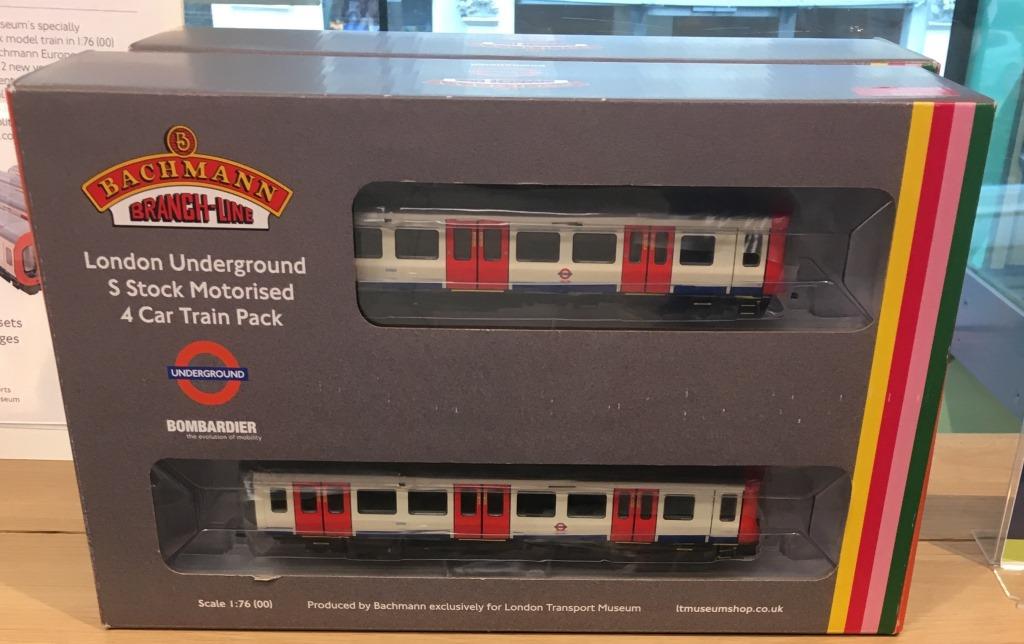
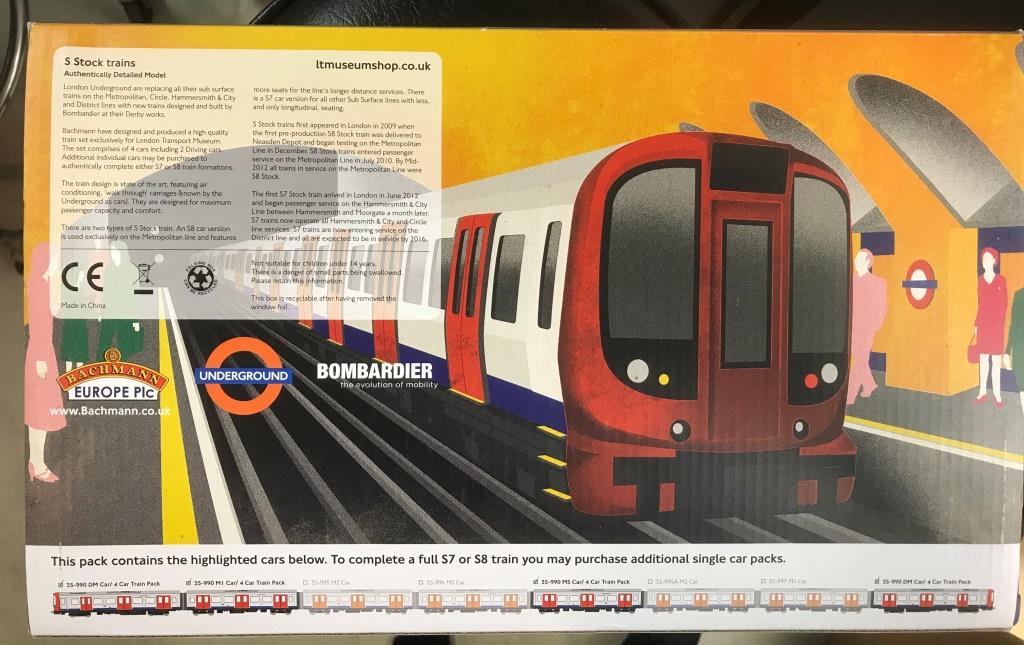
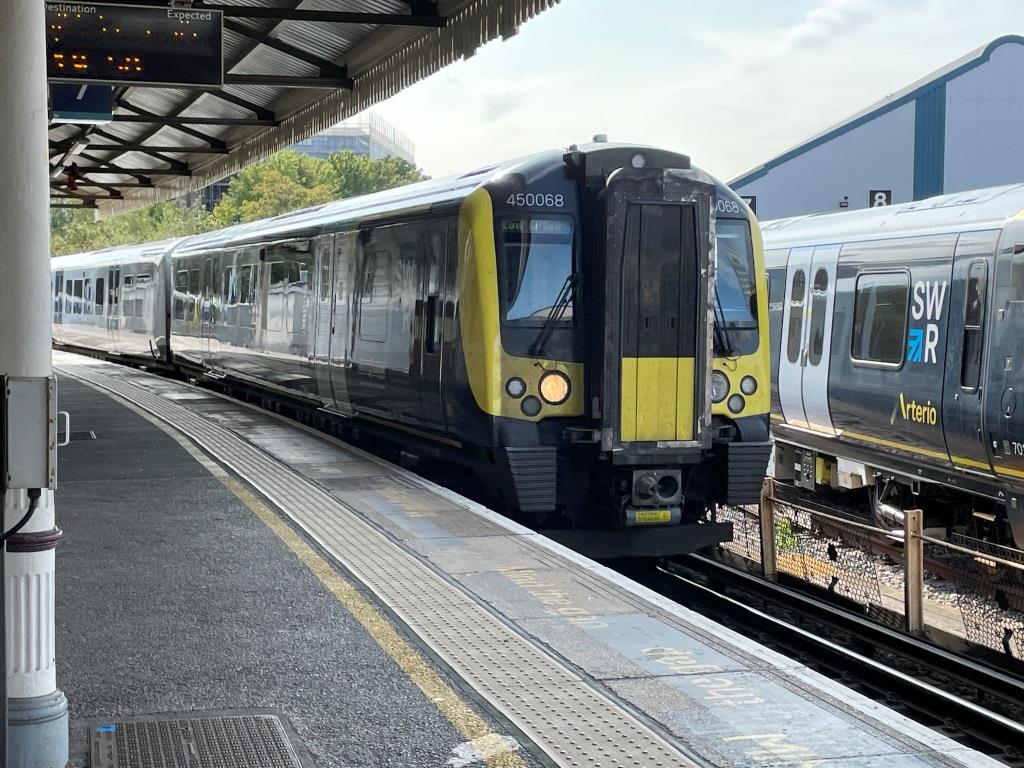 This is a Class 350 EMU commuter train. I was able to obtain one of these in HO/OO scale for the layout made by Bachmann. Note that only the right headlight is lit. This is the convention for daytime running. After dusk, the left headlight is used. Since the trains here are usually left hand running, the left headlight would be furthest from an oncoming train and less likely to blind the driver. | 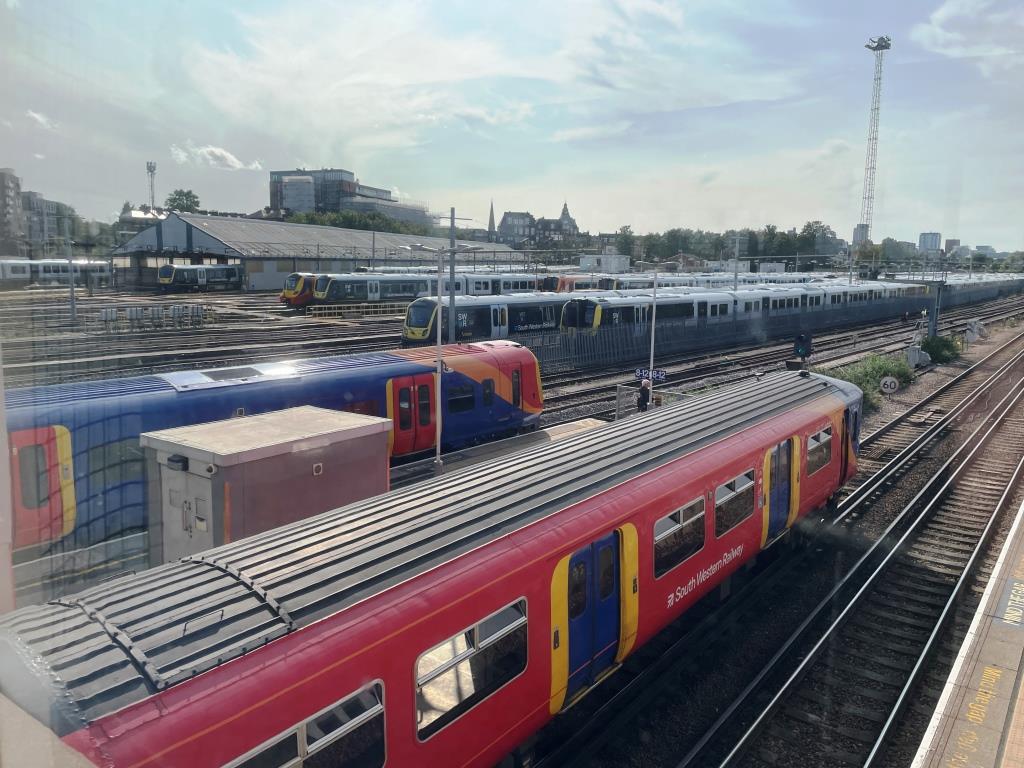 Literally dozens of commuter trains were queuing up for the afternoon rush hour. |
 Yet another livery (paint scheme) on a South Western Railways train. | 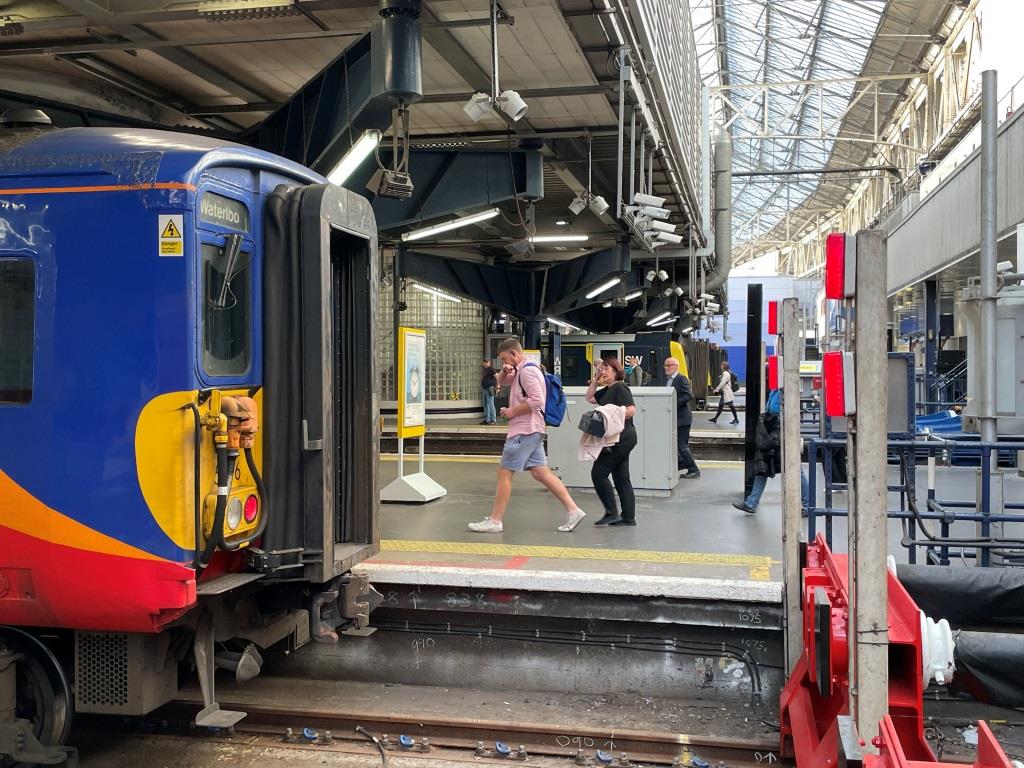 Commuting by train is part of everyday life for many in Britain - they take it in stride. Passenger trains are clean, frequent and affordable. |
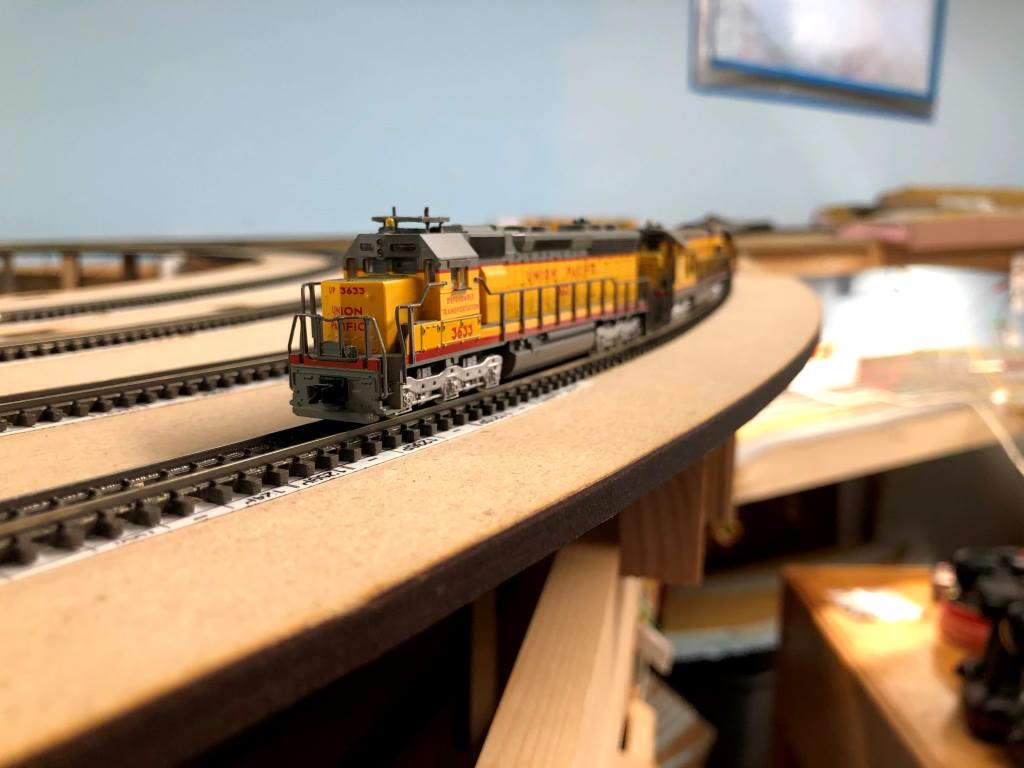
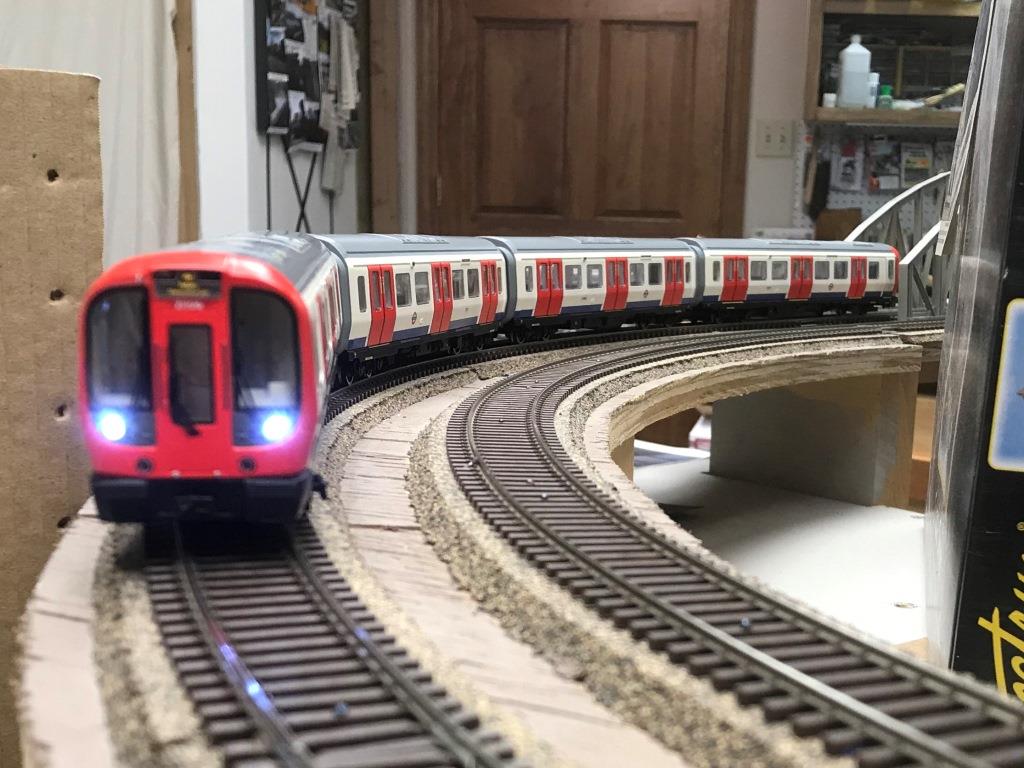
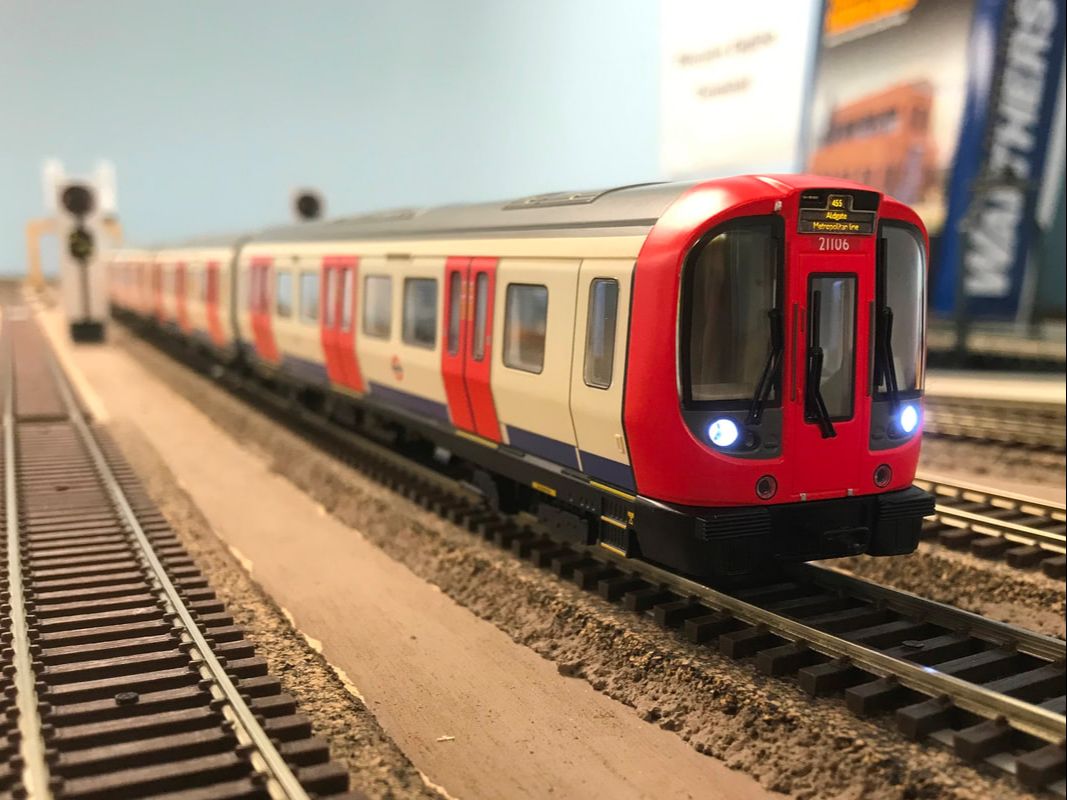
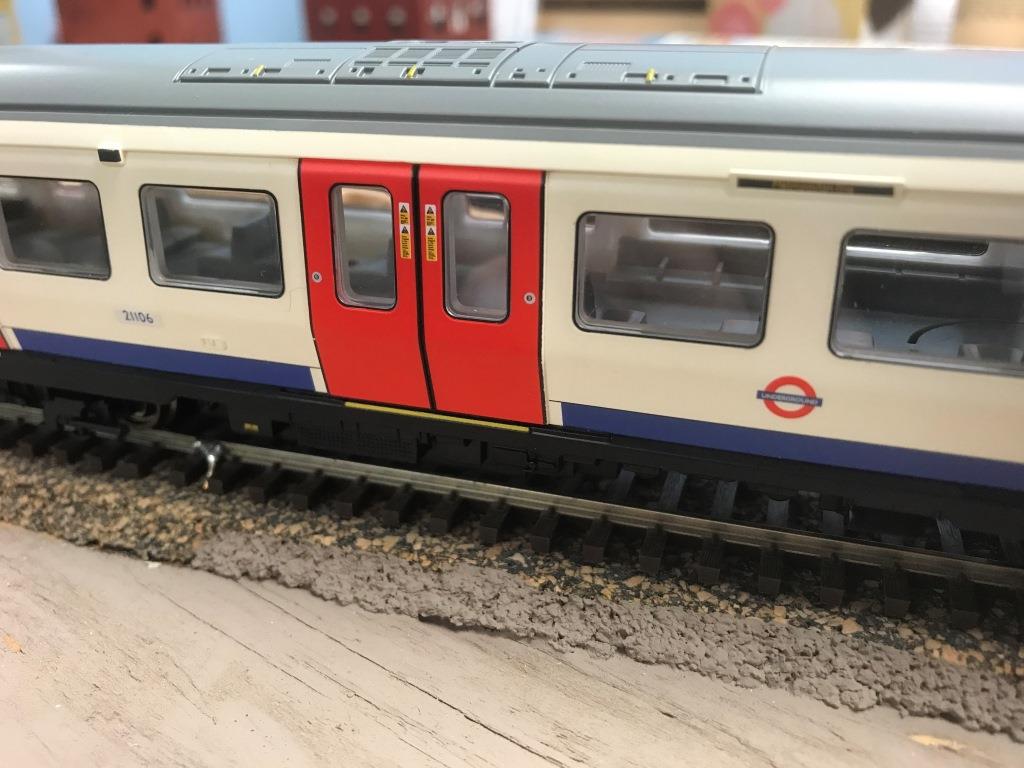
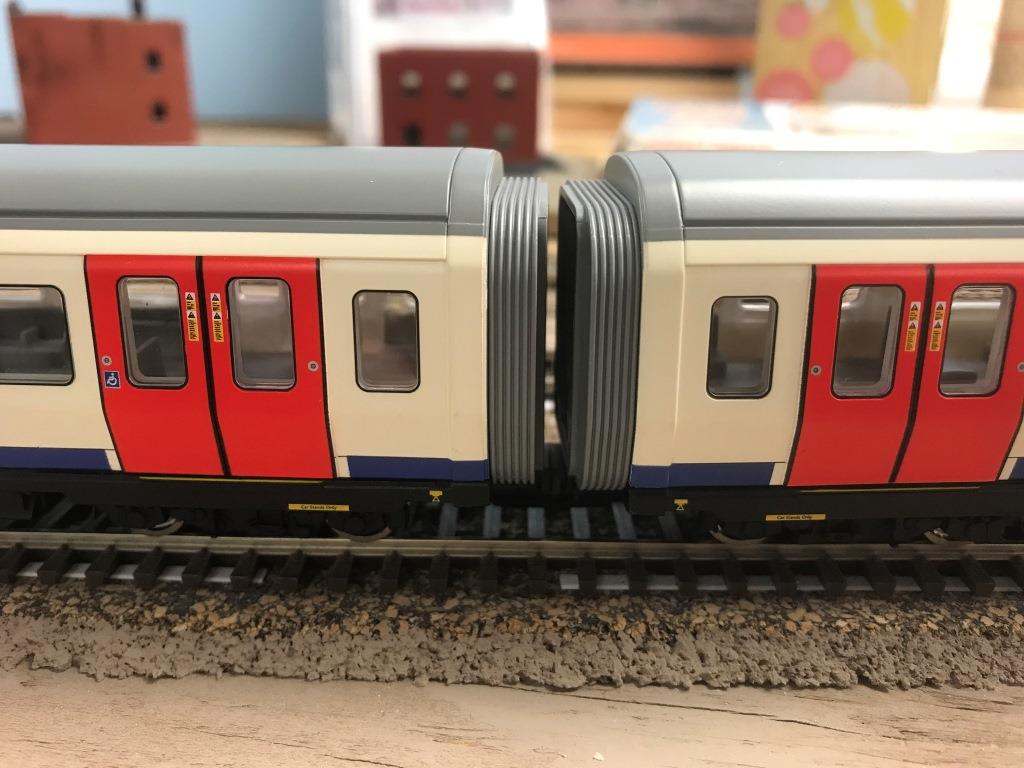
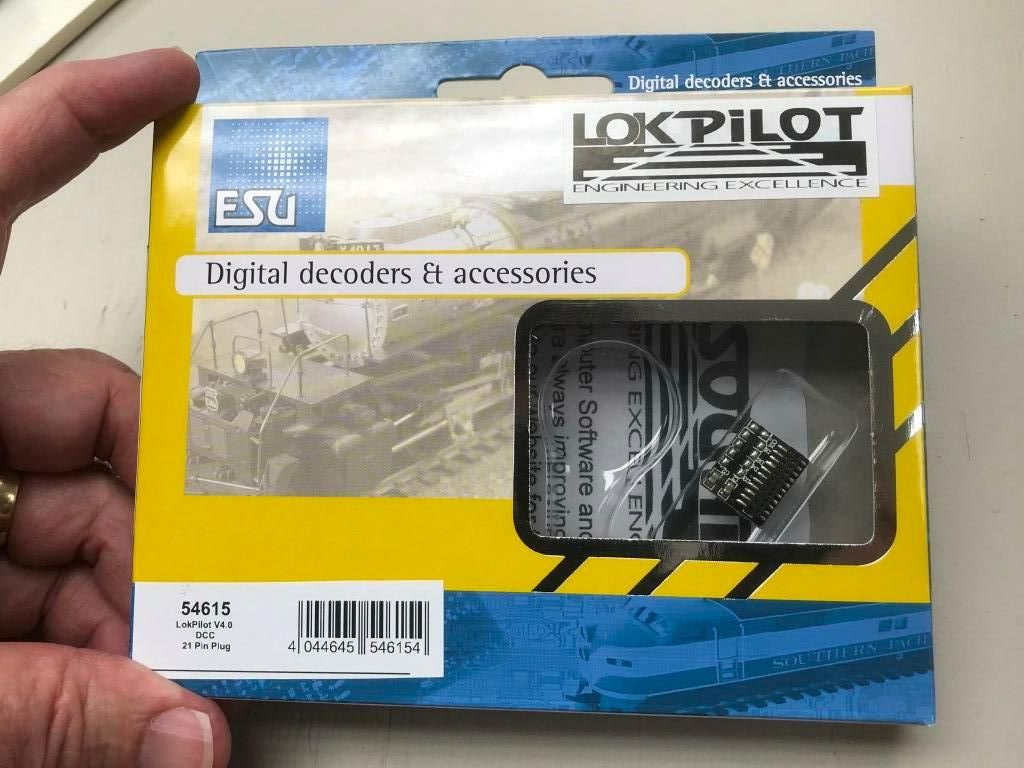
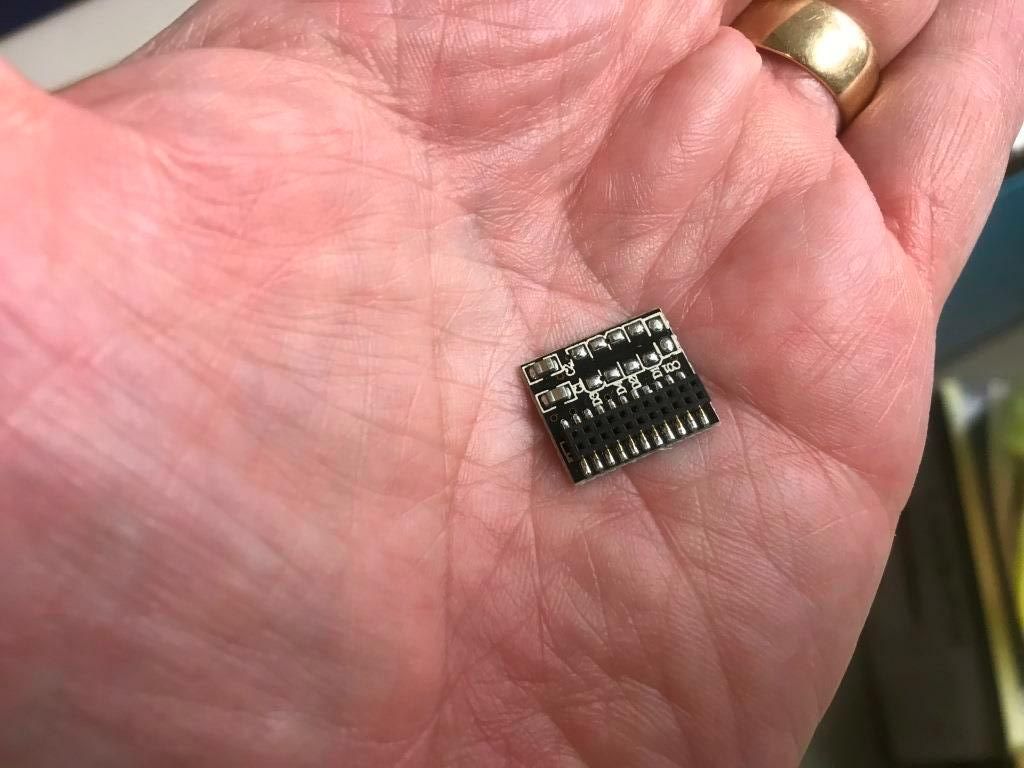
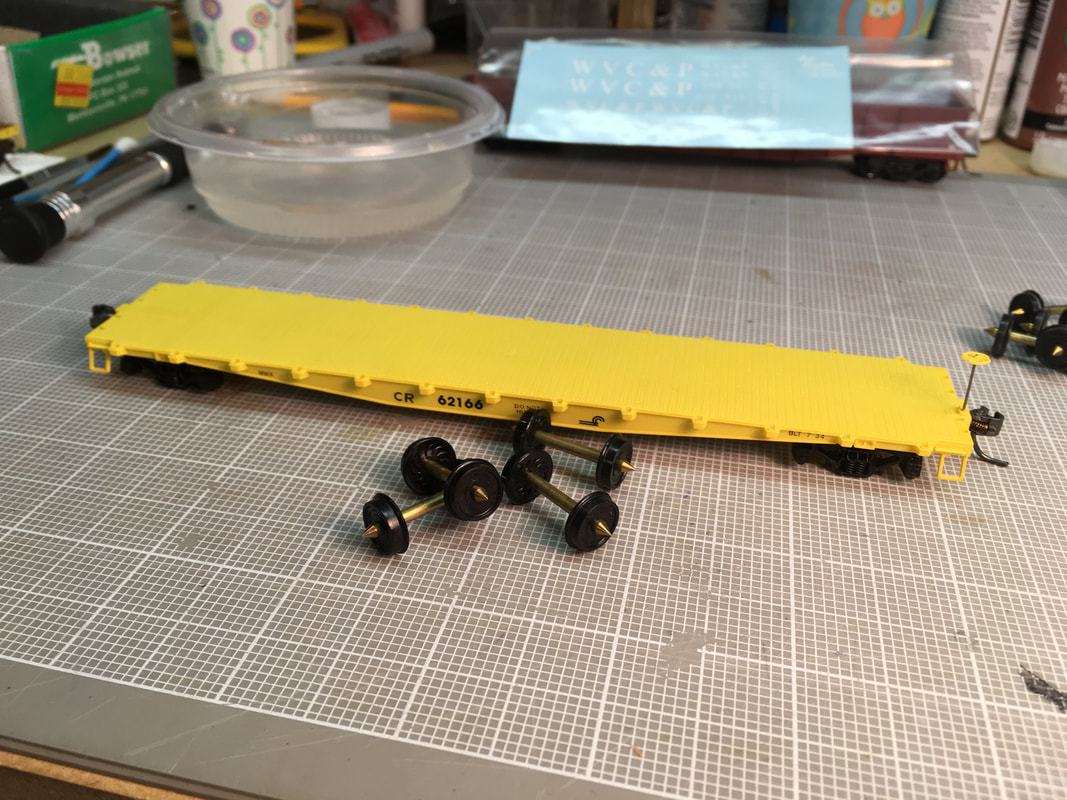
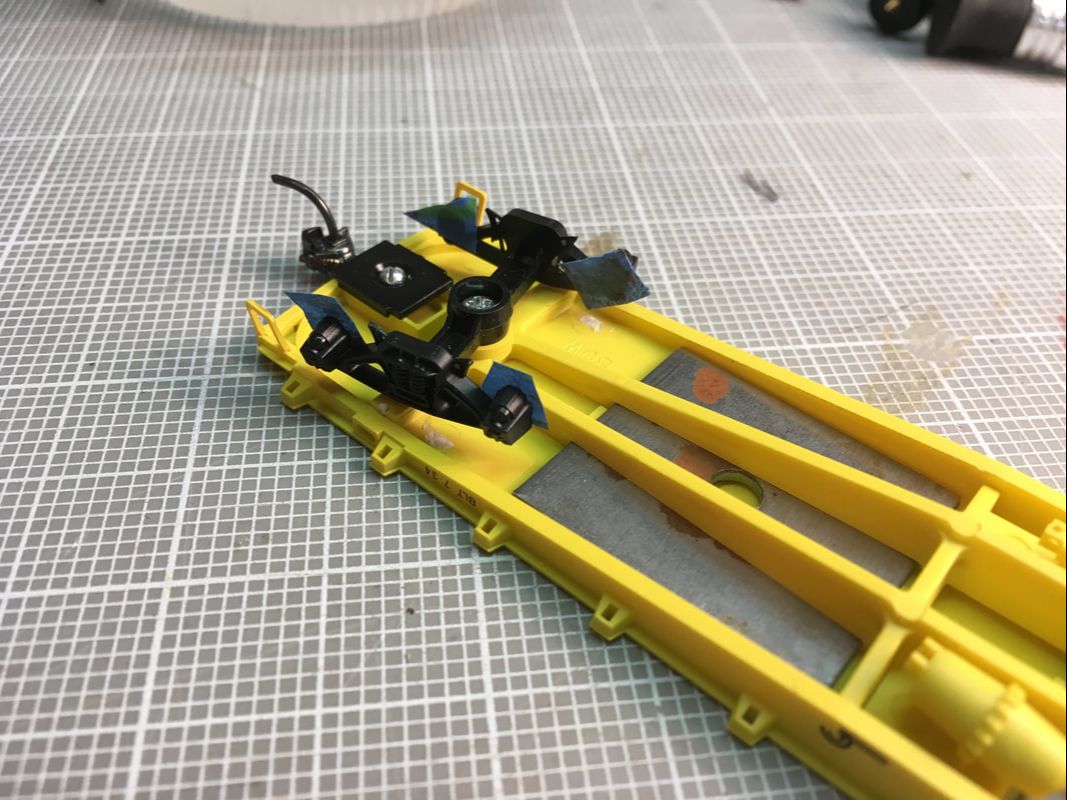
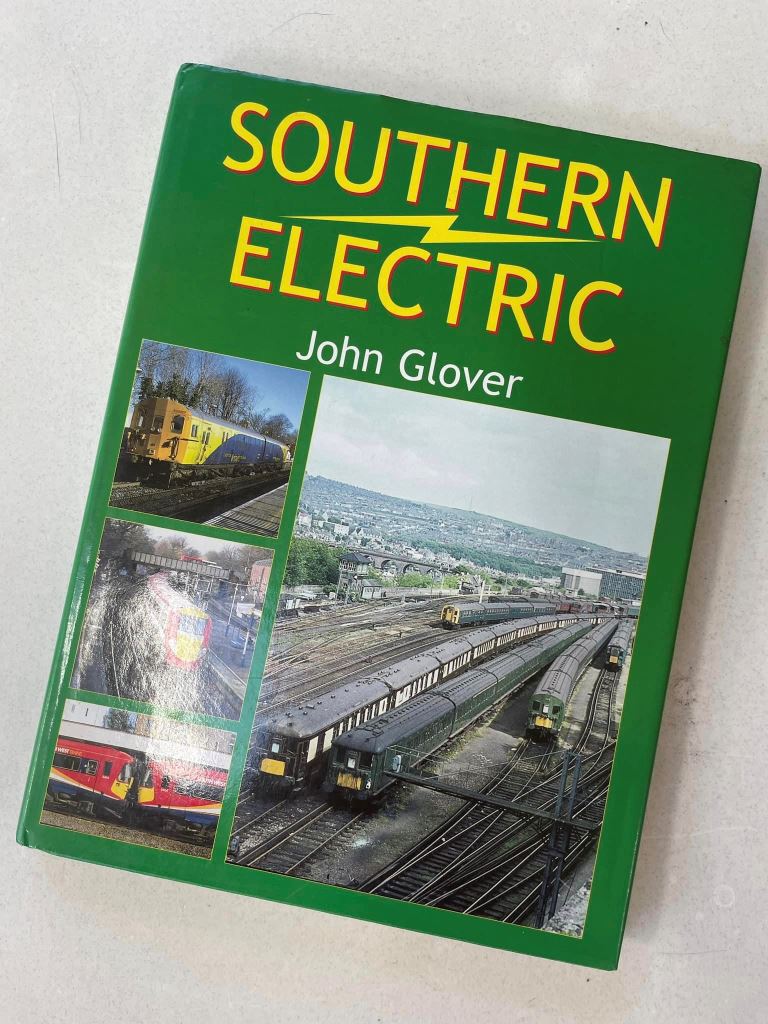 Steve kindly gifted me a book about the Southern Railways. It was the first railway to electrify their lines around London, which led to the EMU commuter trains, a subject of great interest to me. | 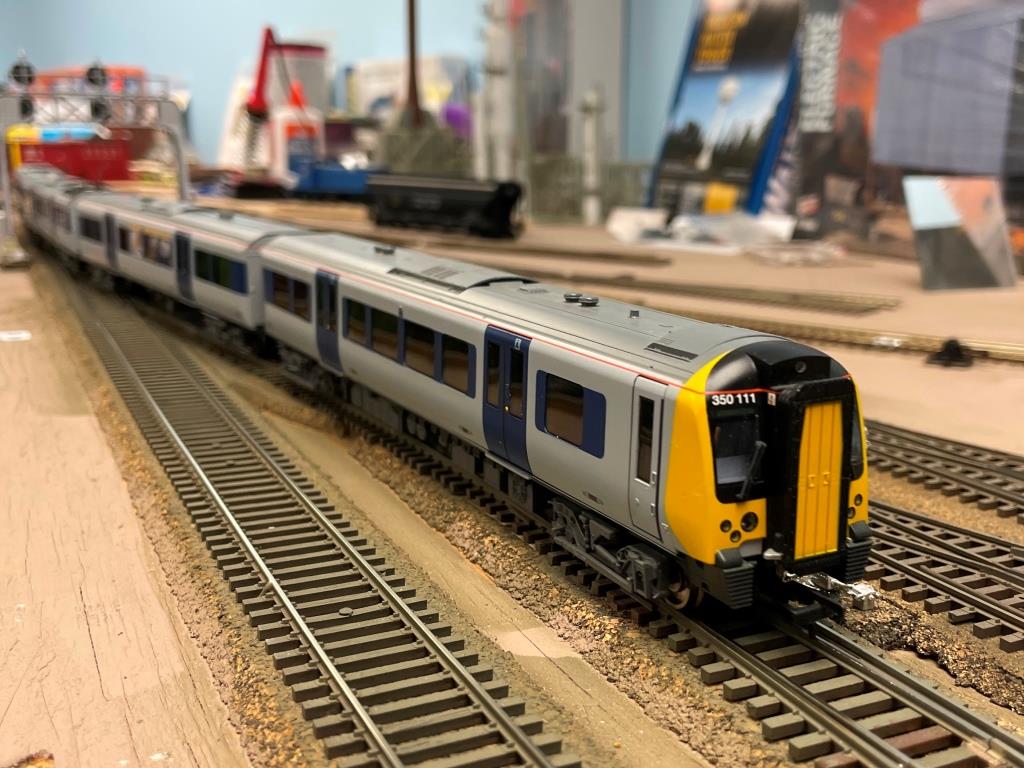 This is the Bachmann Class 350 EMU train I now have for our layout. It has much more significance having ridden on the real thing. The third car is motorized and has provisions for a plug-in decoder. I used a simple 4-function decoder for now, but may upgrade to a sound decoder in time. The joiner links between the cars contain very fine copper wires to convey current to the head and tail lamps on the end cars. Very ingenious and a beautiful model. |
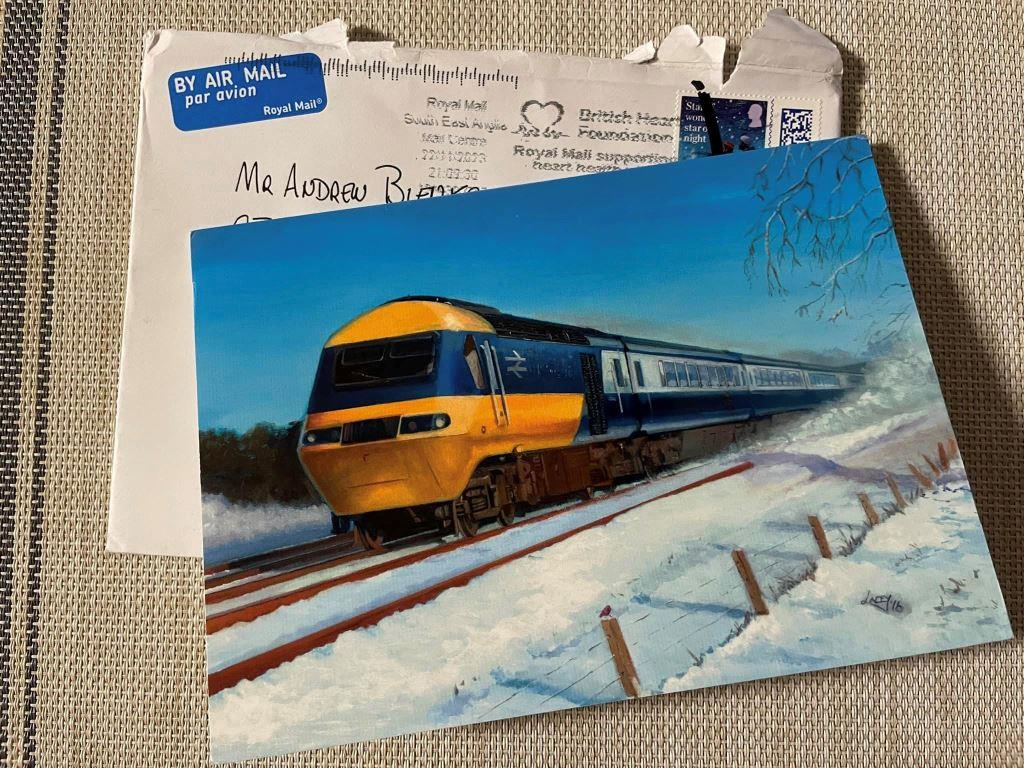
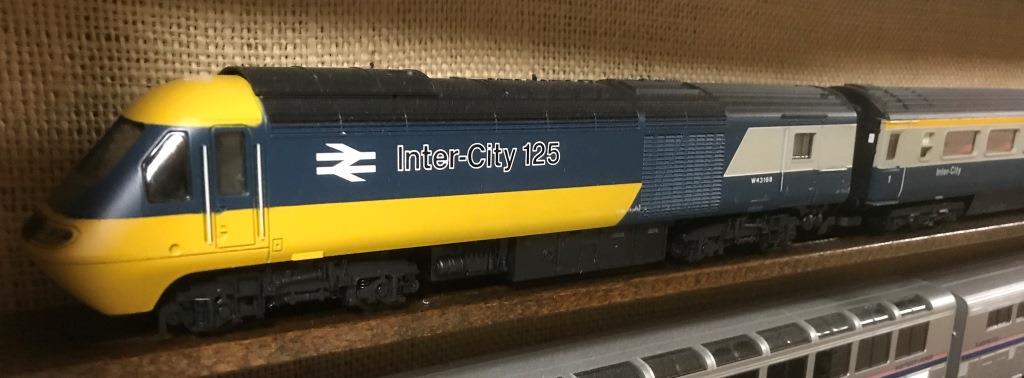
And Steve sent a Christmas greeting card featuring my favorite British train, the InterCity 125!


 RSS Feed
