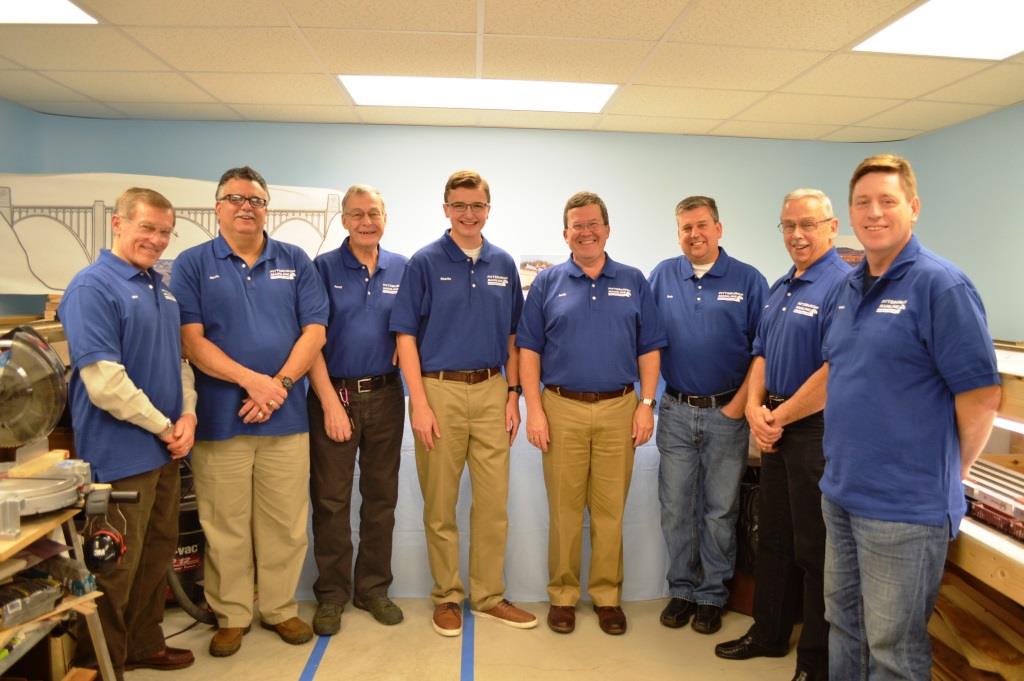
Dan, Kevin, Jerry, Charlie, Andy, Bob, Bruce and Patrick got together to celebrate completion of the main line track. We thank each of you for your hard work, but most of all your friendship.
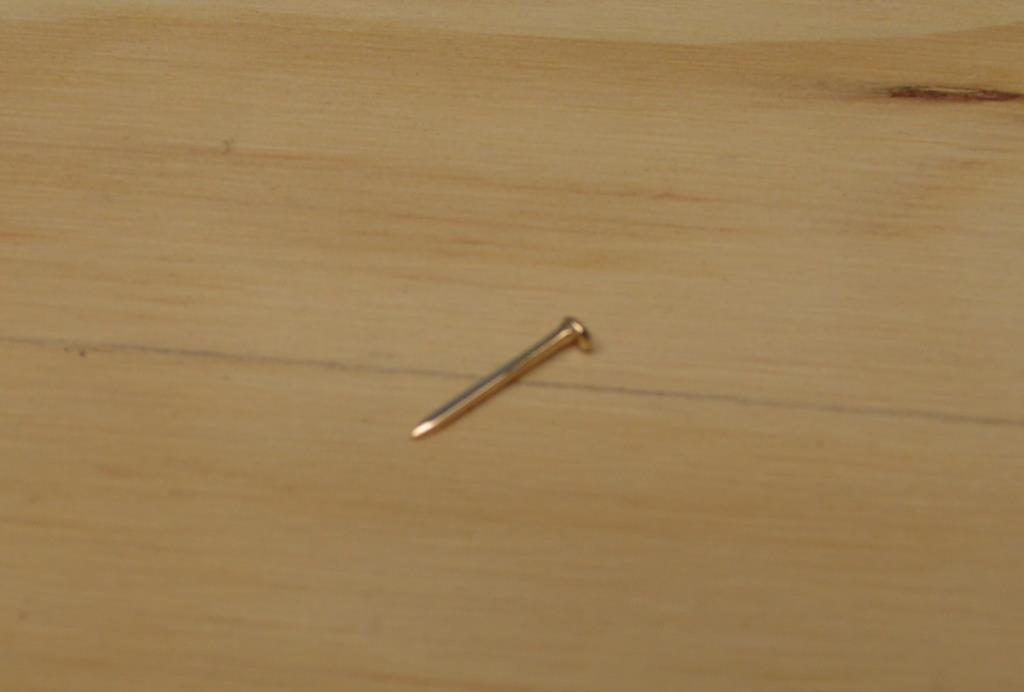 Thanks to GDC Jewelry who fashioned a miniature railroad spike made of gold for the occassion. | 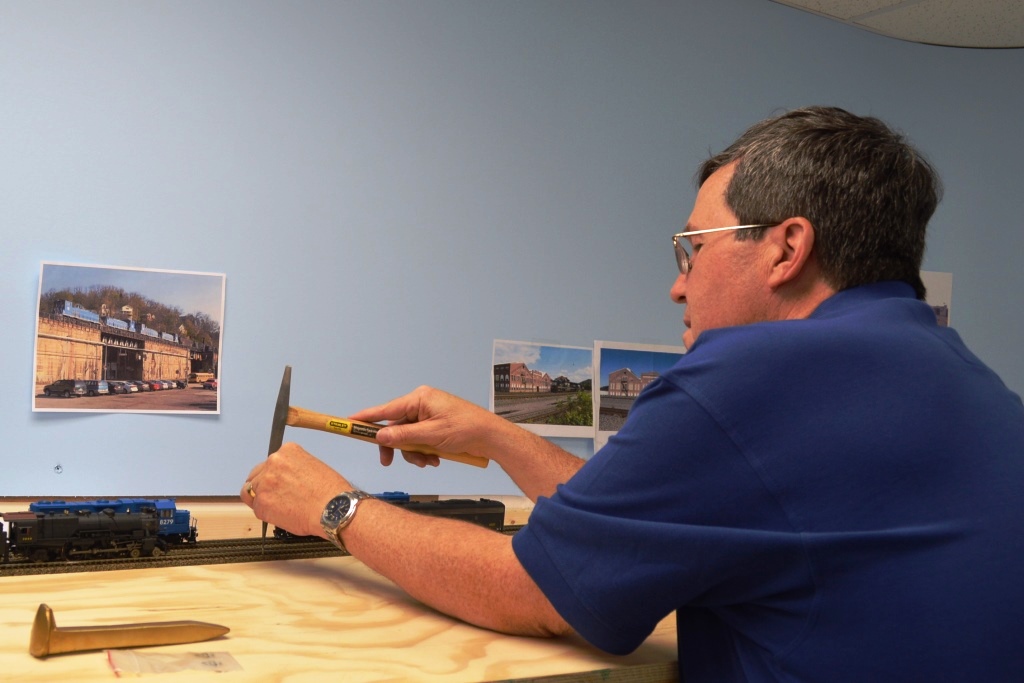 I did the honors of driving the last spike "home." |
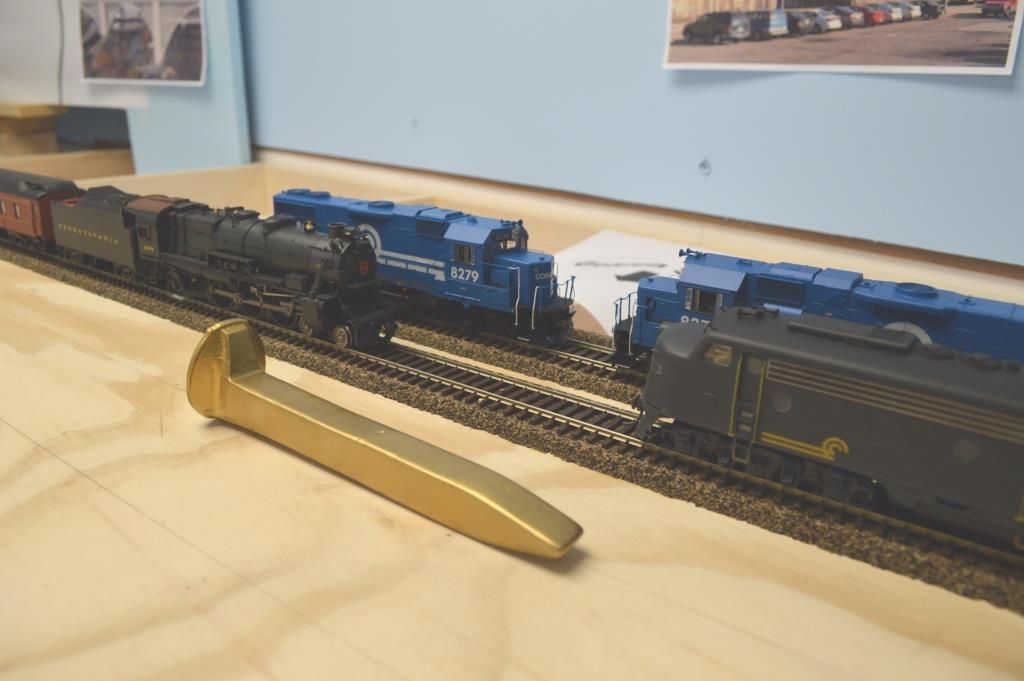
Dan got us a life size golden spike as well to mark the event. Here the trains face off after the miniature spike was in place.
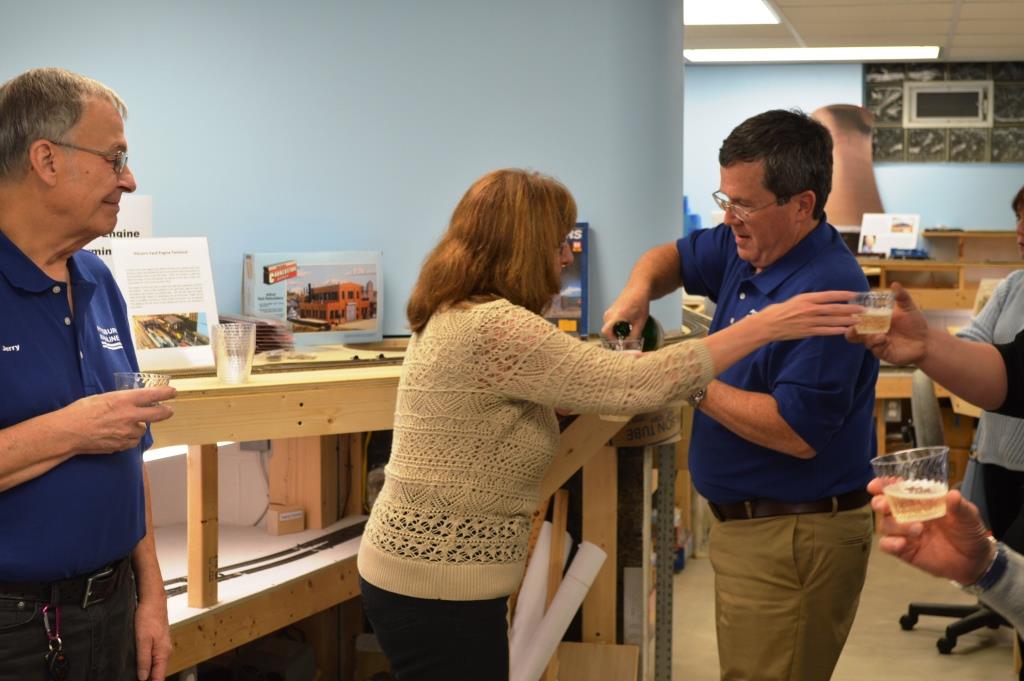 Champagne was passed around to the crew. | 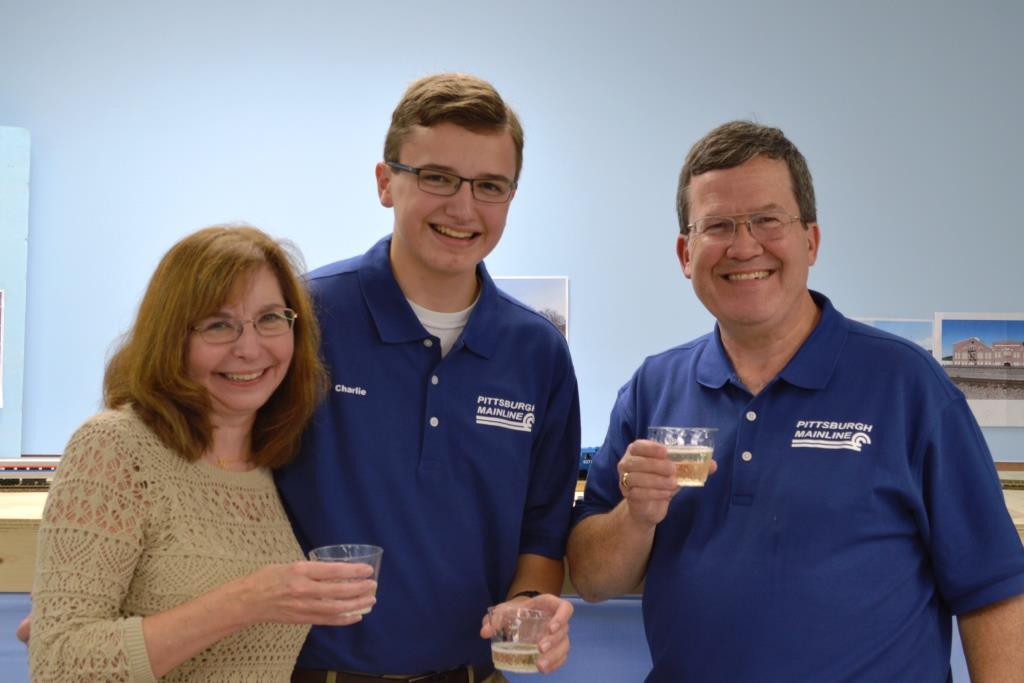 And we toasted our mom/wife who has supported our railroad hobby all this time. Thanks Hon! |
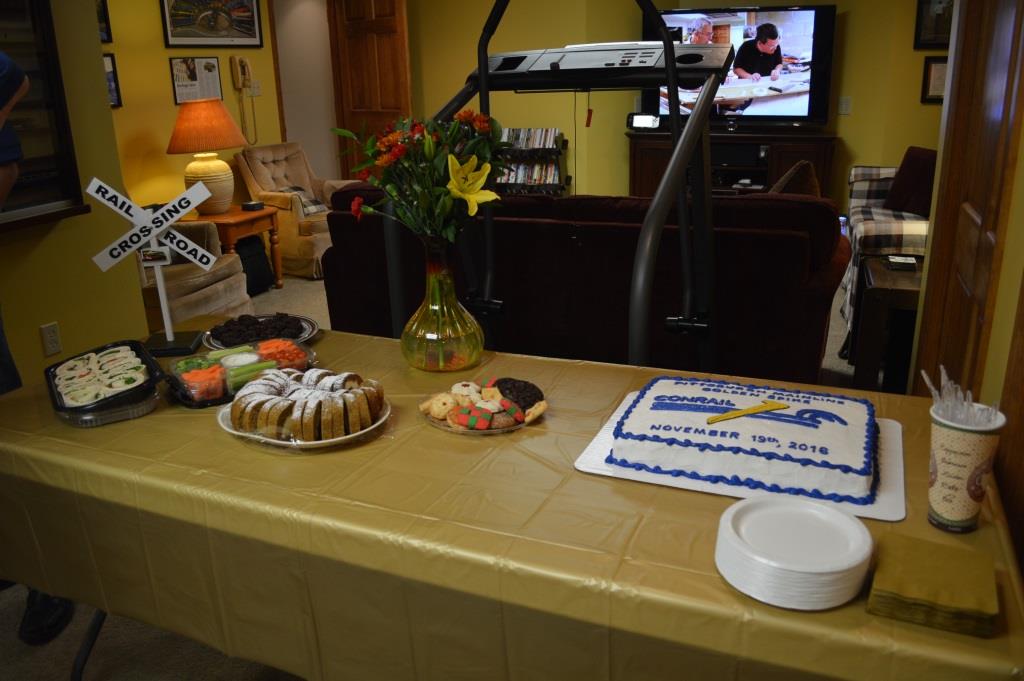 We were set up for about 50 visitors including friends, neighbors and community leaders who stopped by. I am sorry to say that we were so busy greeting guests and giving tours, we didn't get a single photo when the visitors were here. | 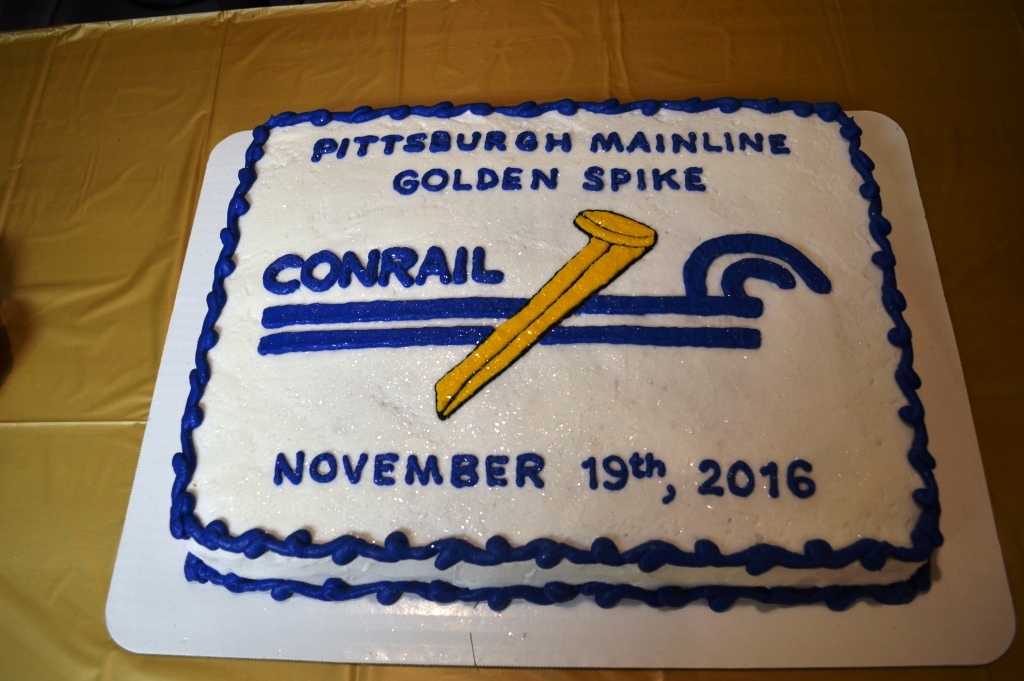 Per usual practice, our favorite "cake lady" prepared a perfect cake to celebrate. |
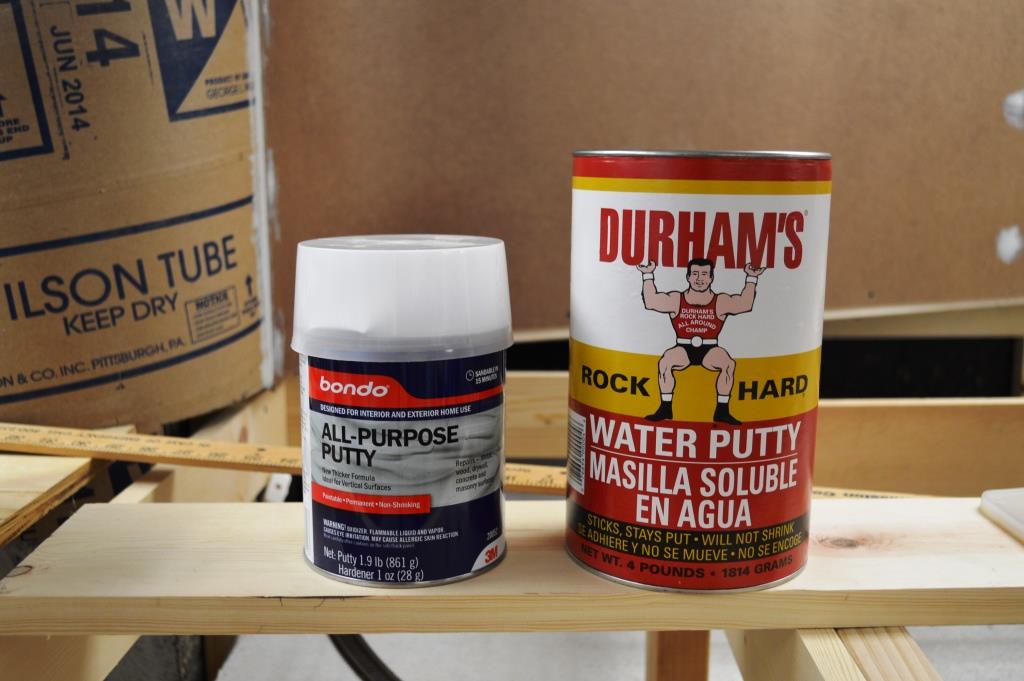
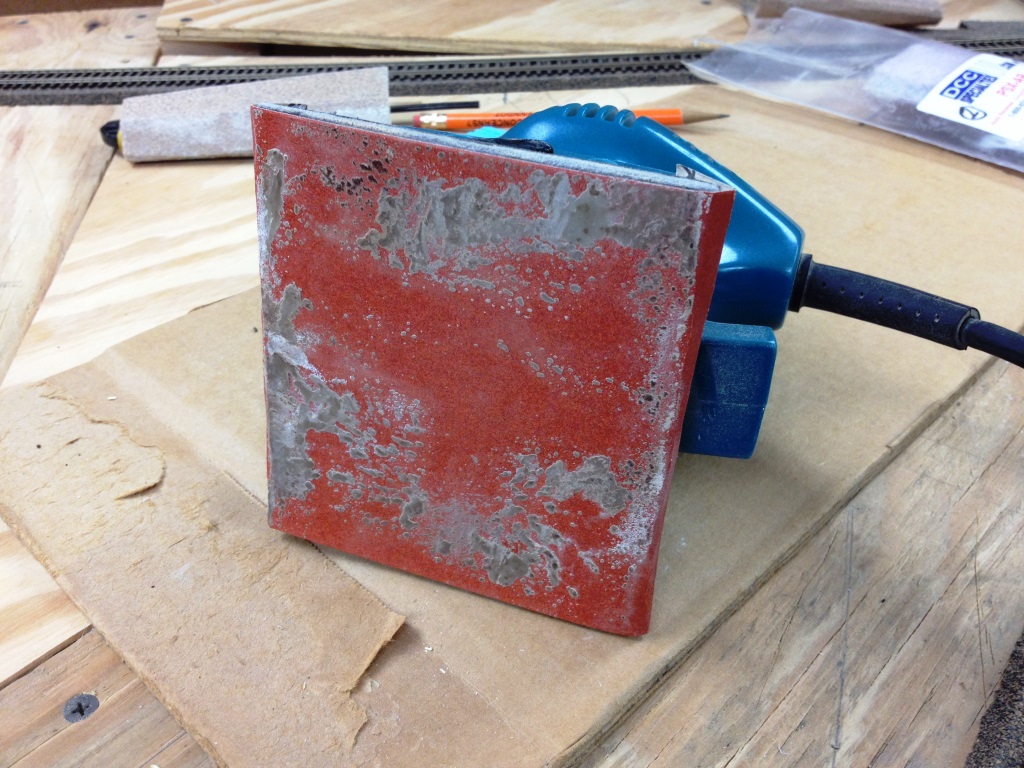
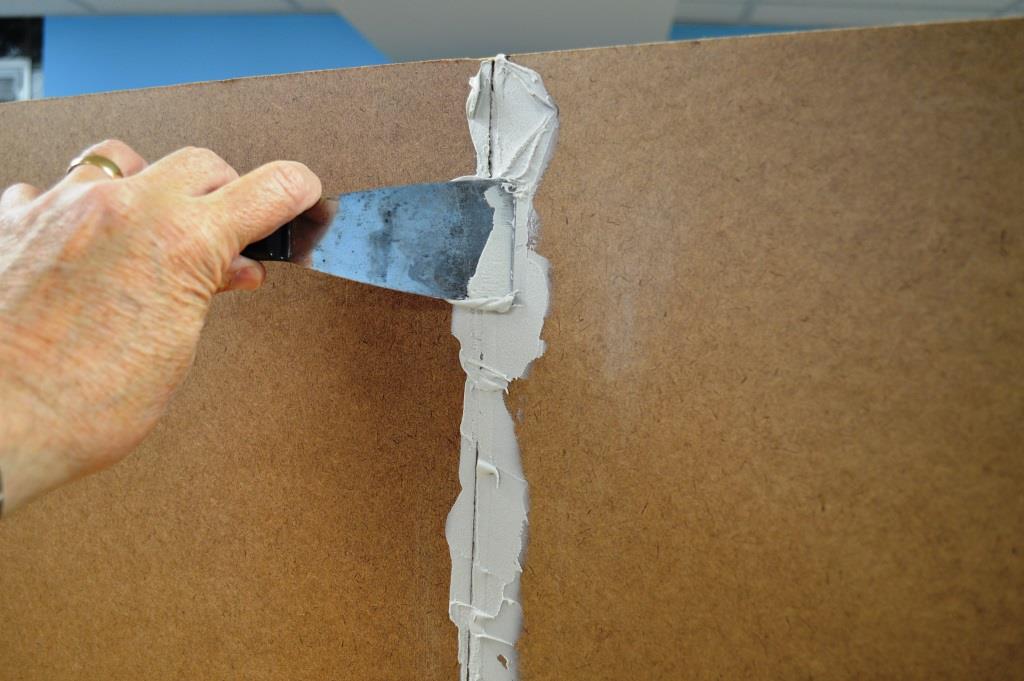
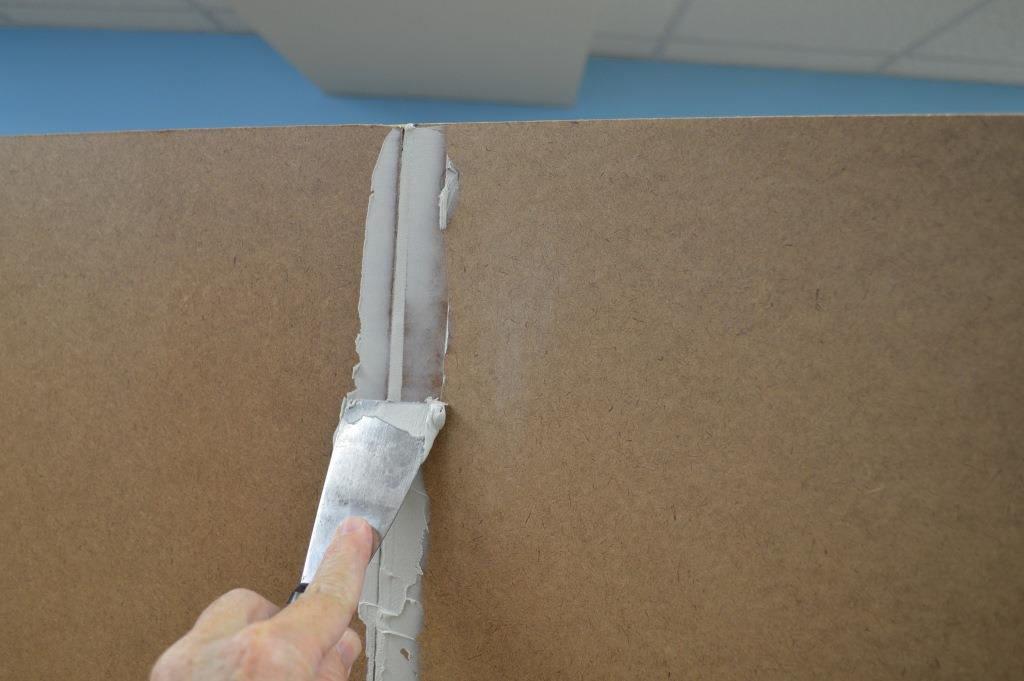
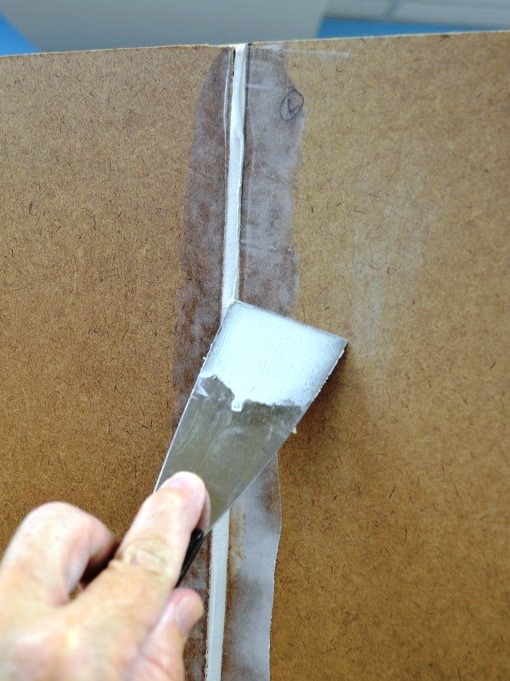
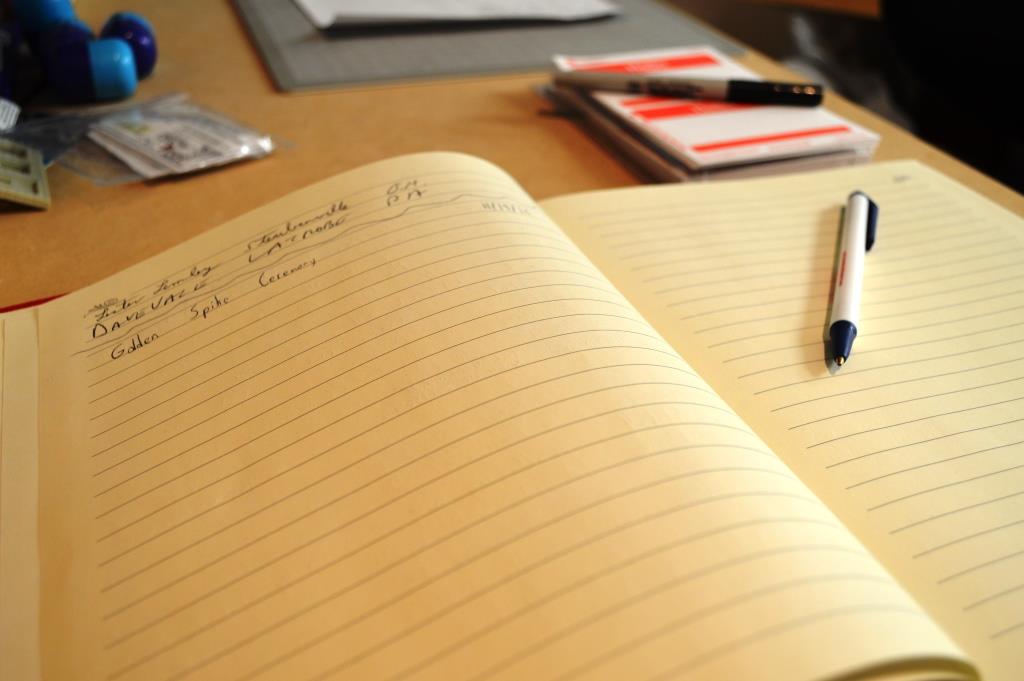 We finally broke down and bought a guest register to document our visitors. | 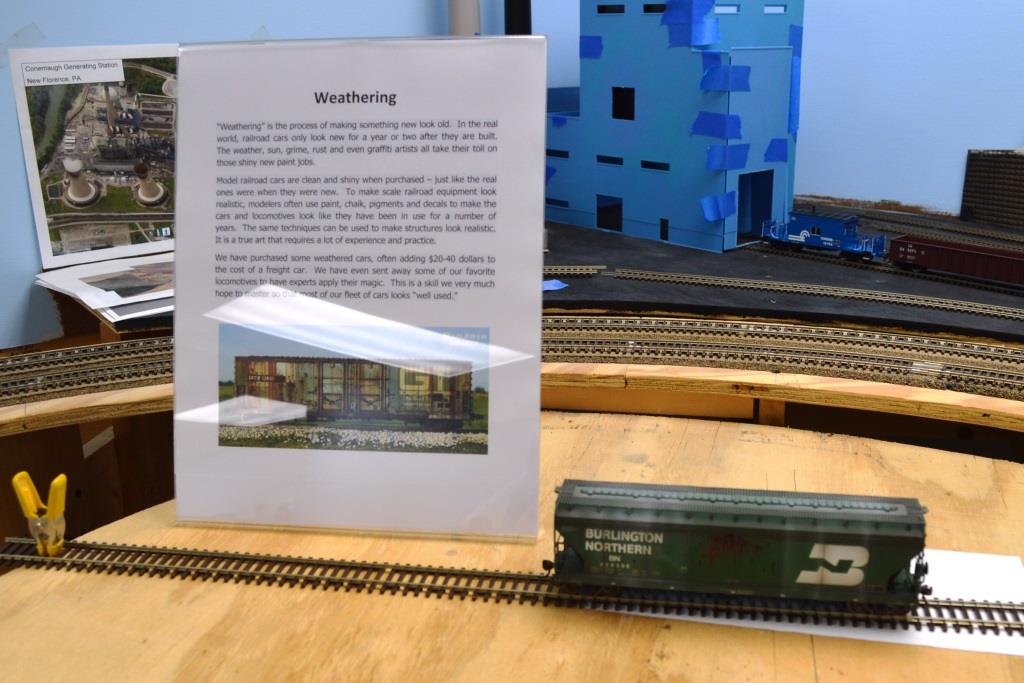 Since most of our visitors were not modelers, we had some displays to explain different facets of the hobby - this one on weathering. |
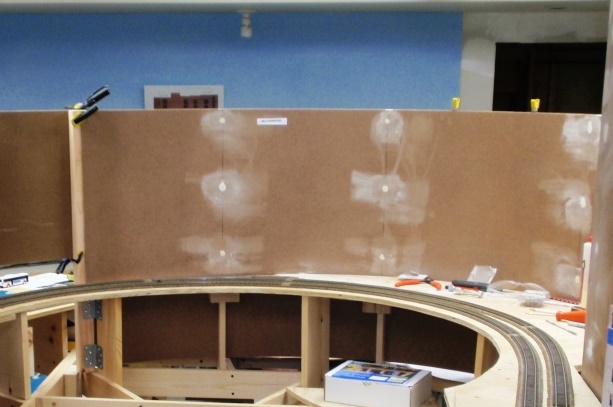
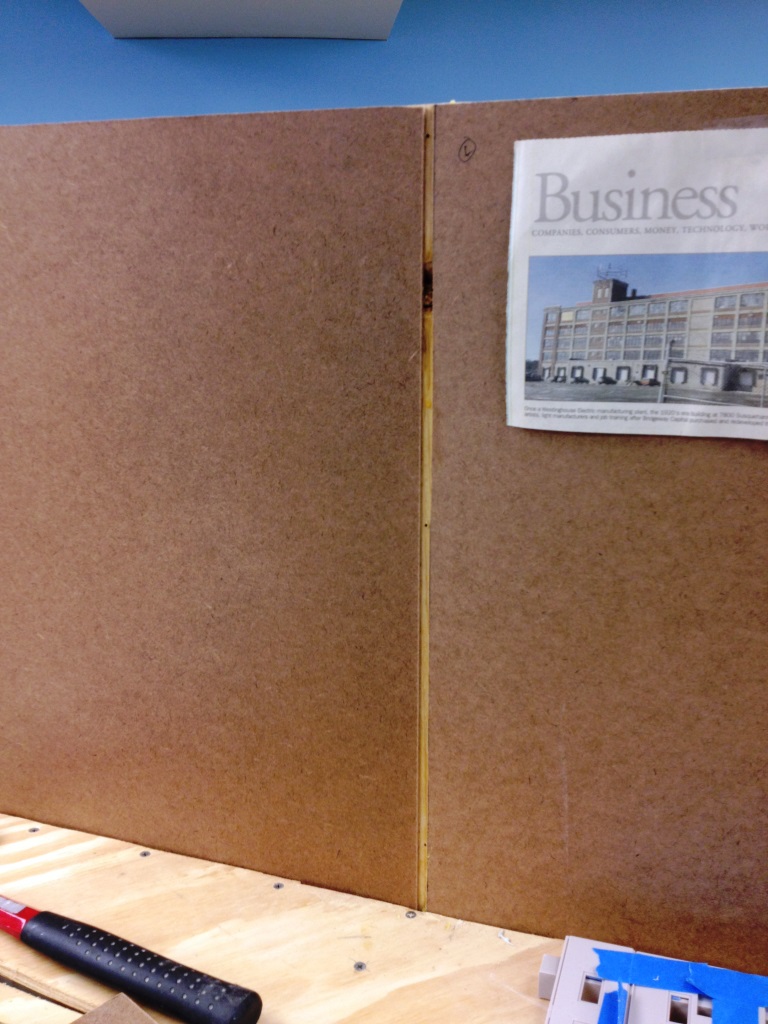
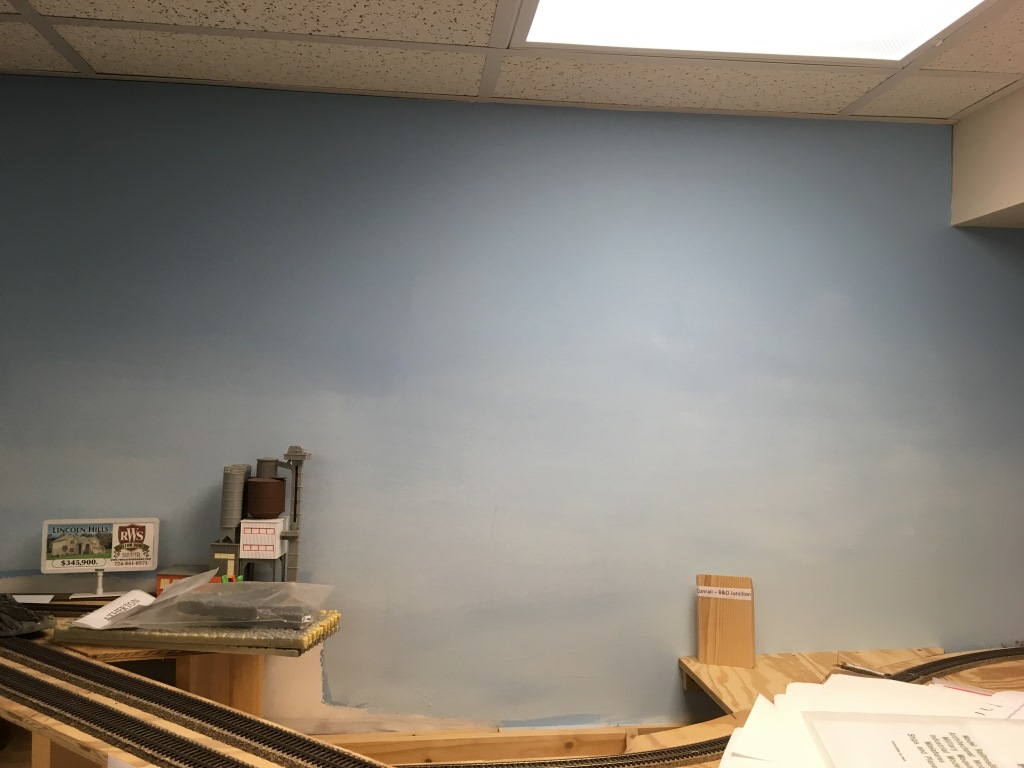
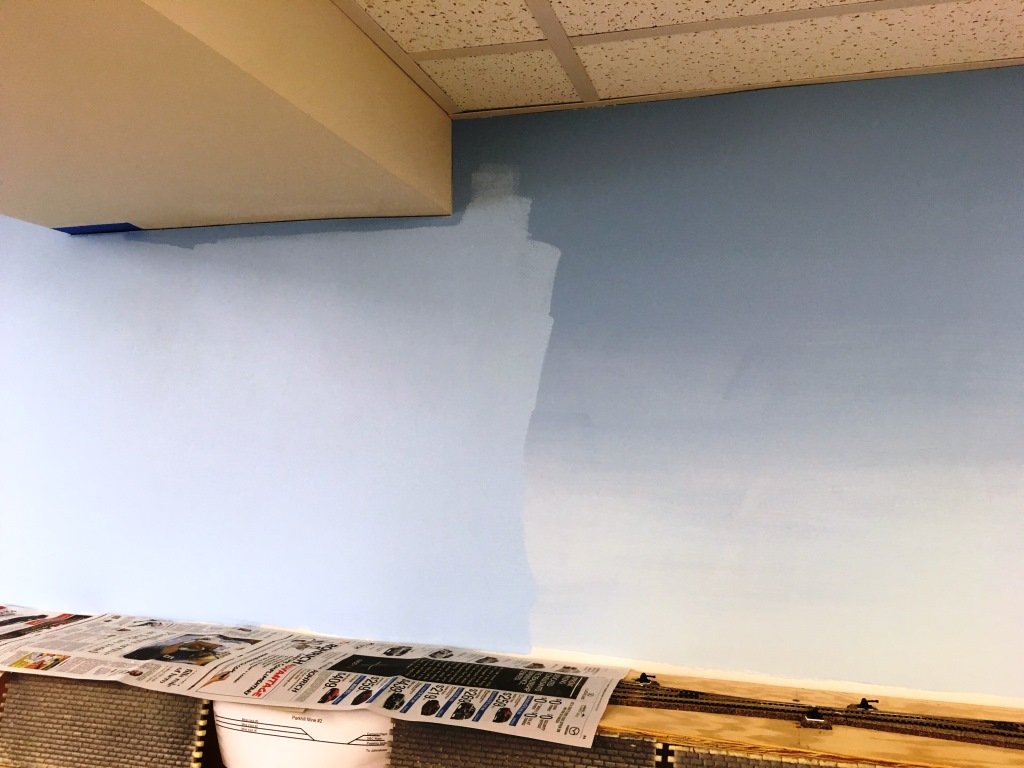
 One on scenery... | 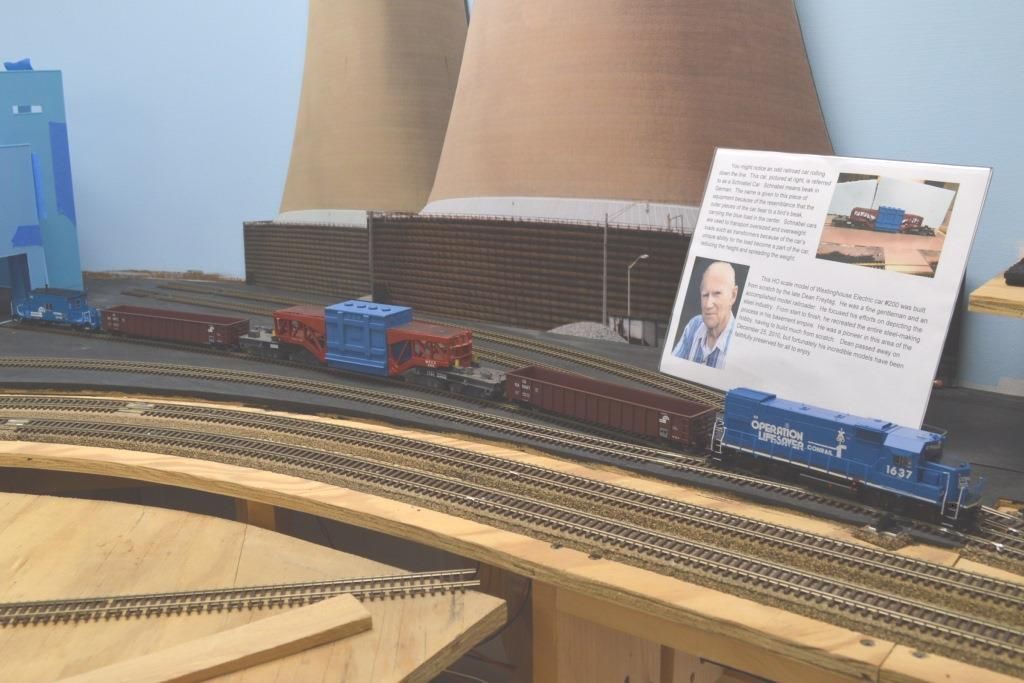 ...and one about Dean Freytag's scratchbuilt Schnabel car. |
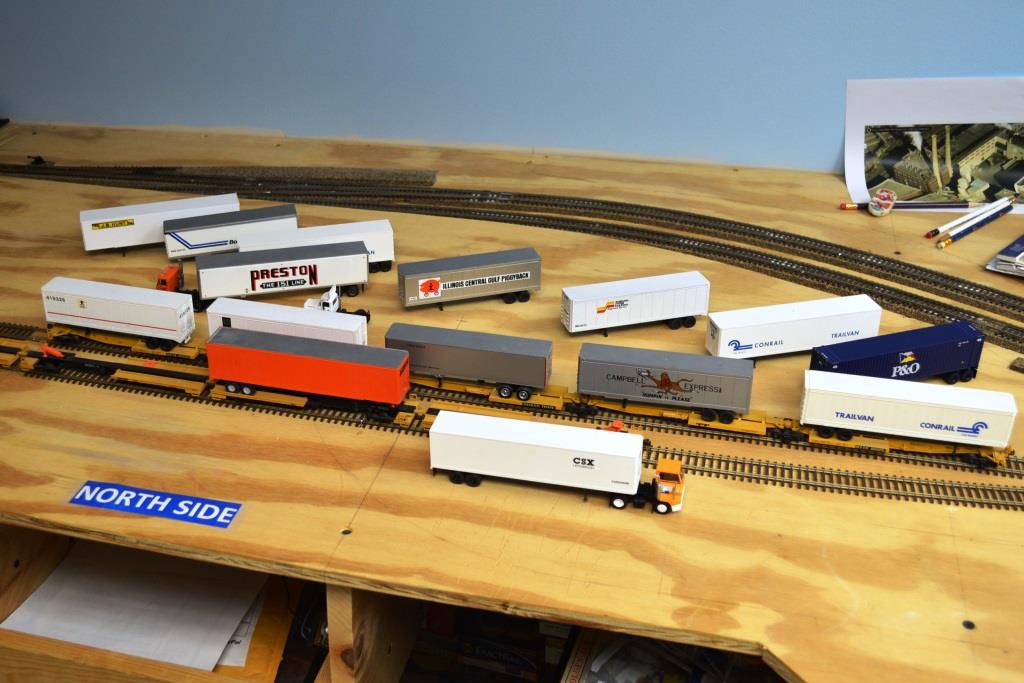
 One about our future steel mill... | 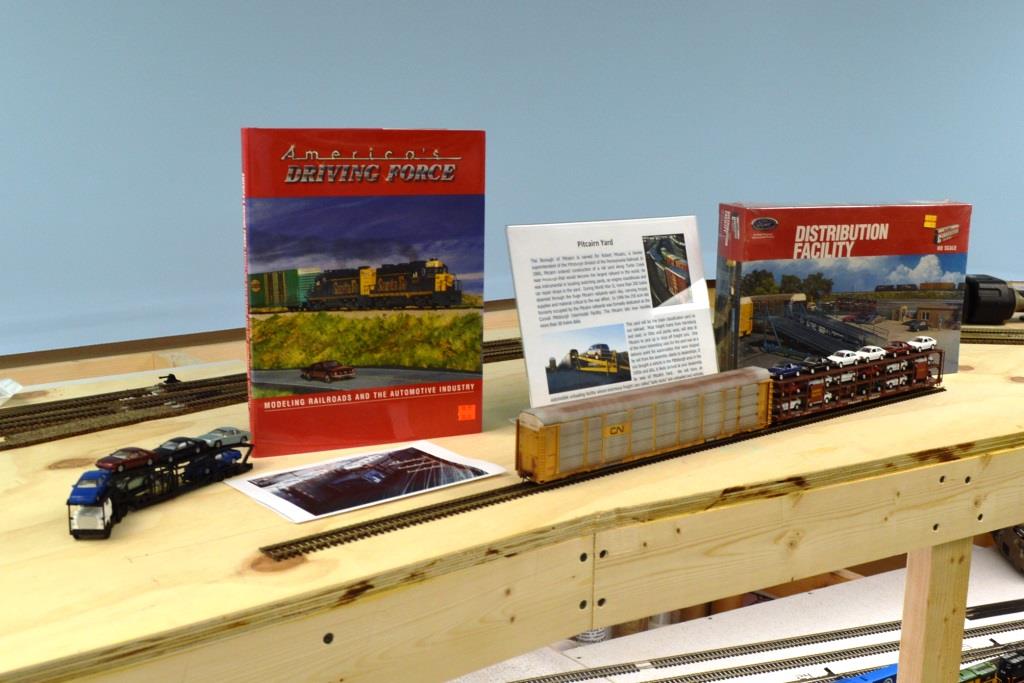 ...and the auto unloading facility at Pitcairn Yard. |
 We had a few building mock-ups made out of cardboard to give a feeling of size. | 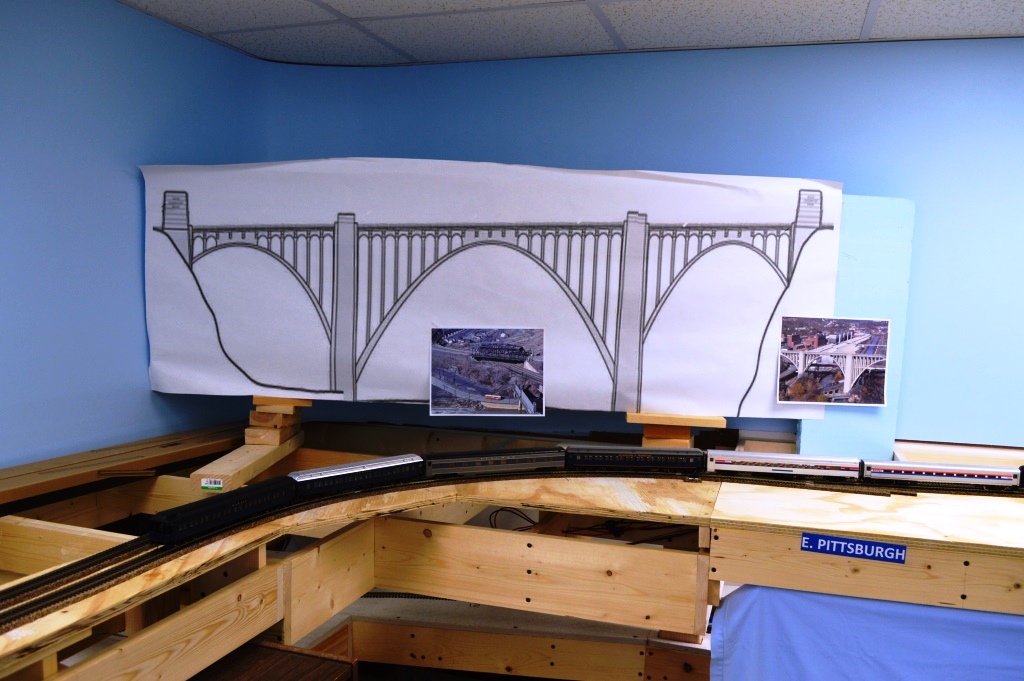 And this line drawing showing the scale of the Westinghouse Bridge. |
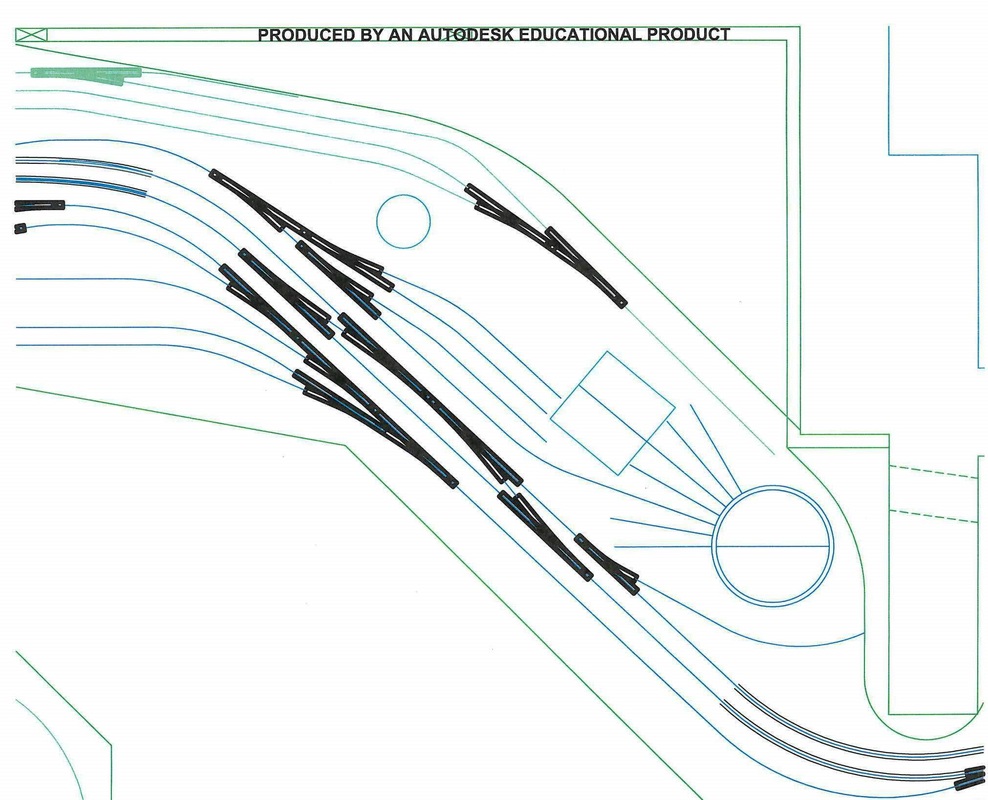
 We set up this scene where the Island Avenue intermodal yard will be. | 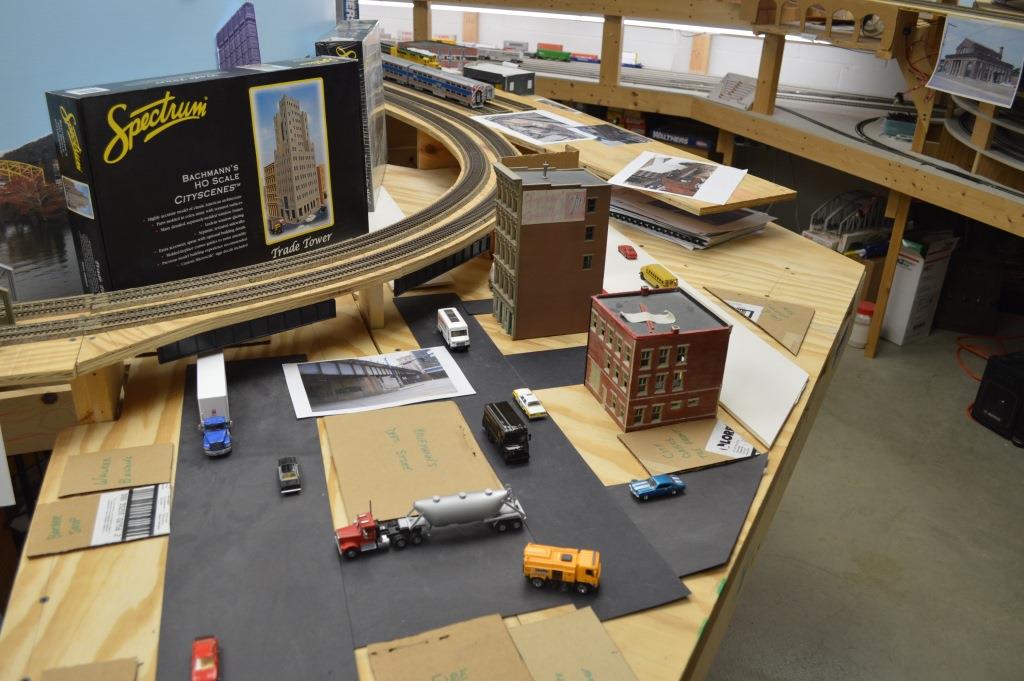 A preliminary street layout and some building kits suggested downtown Pittsburgh. |
Thanks to everyone who stopped by to help us mark the occasion. We might just make this an annual event!


 RSS Feed
